
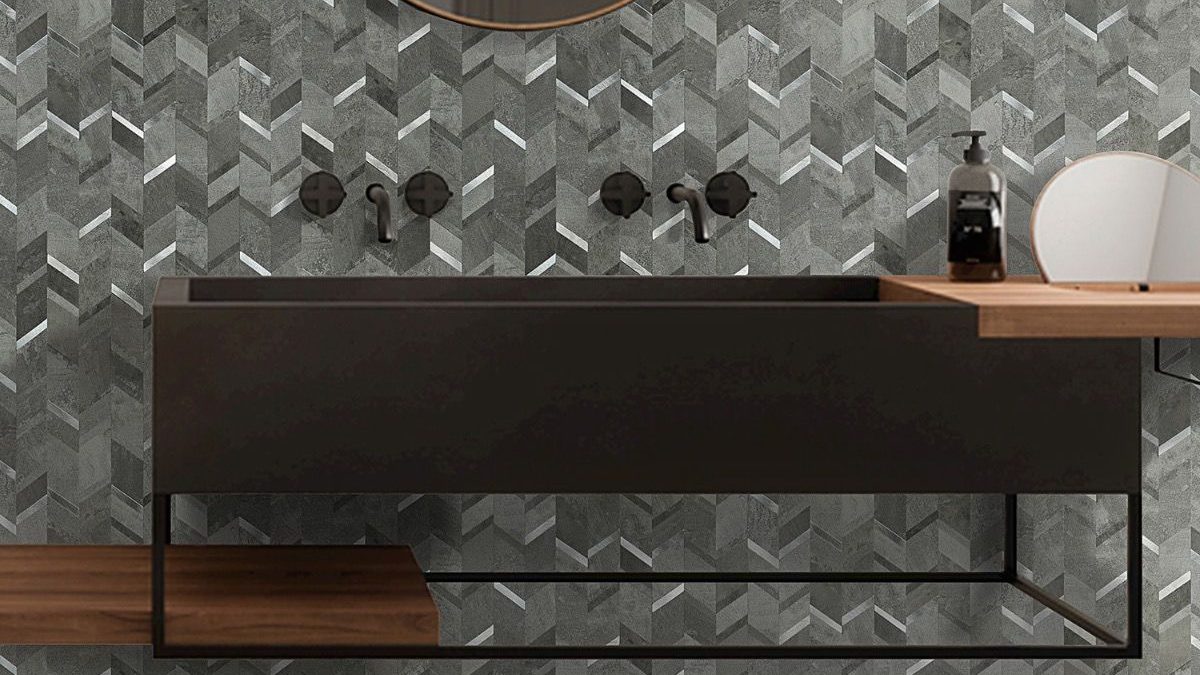
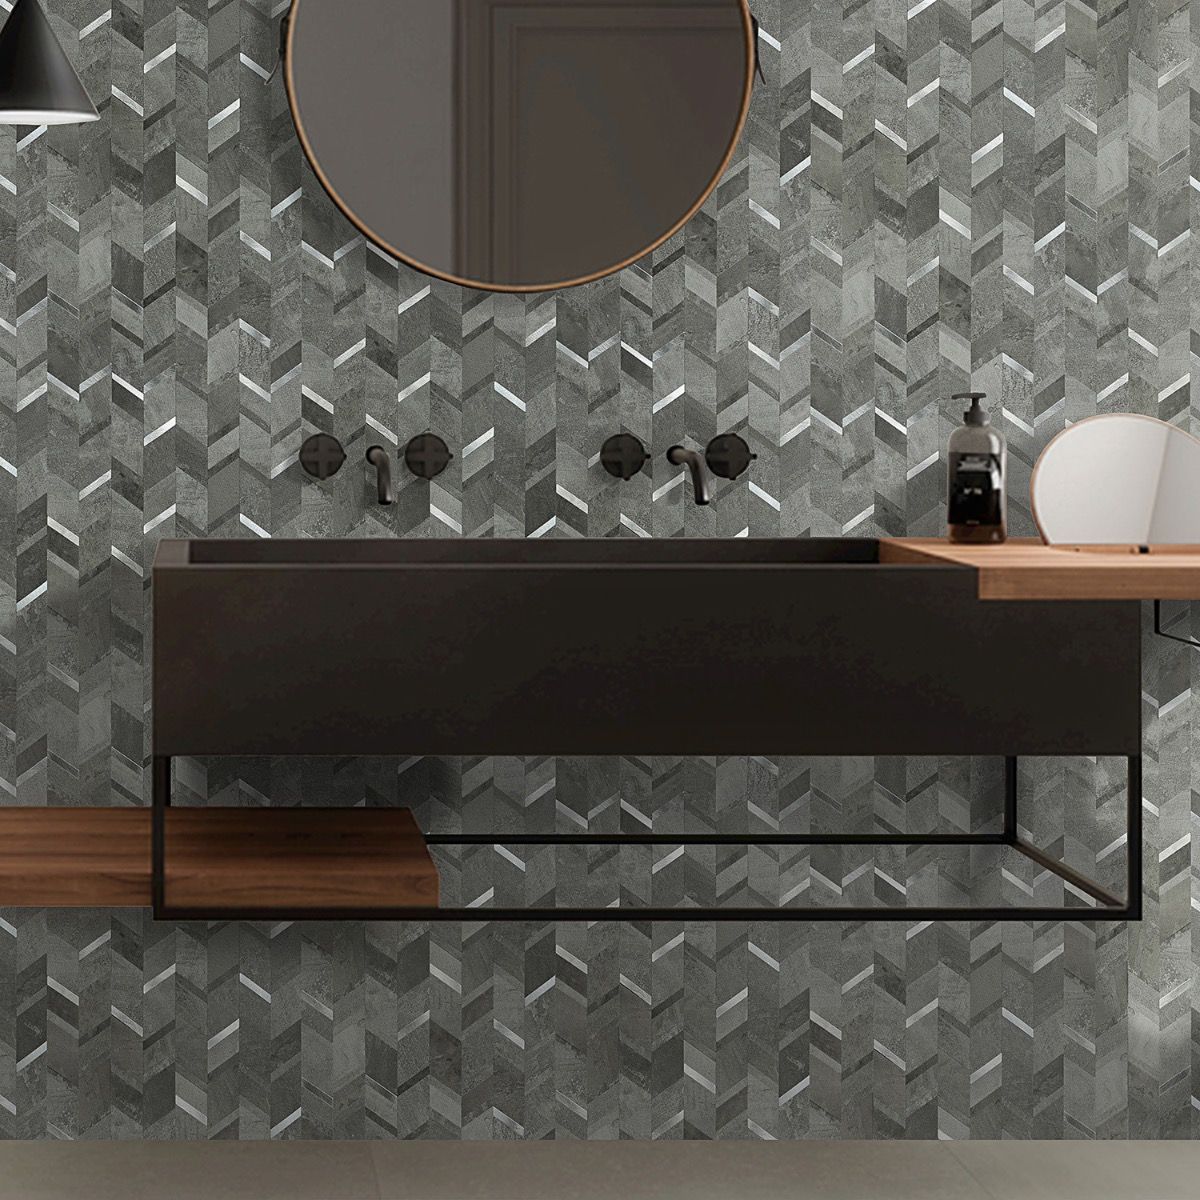
Installing Peel and Stick Tiles is a great way to give any room in your home a fresh new look without breaking the bank. These tiles offer a realistic appearance and come in a wide range of design options to suit your taste. The best part is, they are hassle-free and easy to install making it a convenient choice for anyone. In this guide, we will walk you through the process of preparing your surface and applying peel and stick tiles in just six simple steps.
Whether you want to update your kitchen backsplash or renovate your bathroom floors using DIY peel and stick tiles is a solution that adds a touch of elegance. So choose your pattern and let’s get started with installing these chic and versatile tiles! With a few tools, accurate measurements, and following some essential tips for proper application, you’ll have a stylish new tile surface ready to enjoy in no time.

Before You Start:
Safety First
Remember to prioritize safety by wearing protective gear, including safety glasses, when you’re working on any installation, even something as seemingly simple as Peel and Stick Tiles. While cutting tile and using tools can be enjoyable it’s crucial to ensure the safety of yourself, your loved ones, and your beloved furniture and spaces.
Measure Twice, Order Once
It’s essential to measure and order extra when it comes to purchasing tiles. Make sure you have tiles to account for any necessary corner cuts or pattern fitting. Most tiles typically require 5% extra material, but if you’re working with more intricate patterns you might need a bit more. Don’t hesitate to reach out to TileBar with your dimensions so we can assist you in ordering the necessary amount for a successful project!
How to Cut Peel and Stick Tile
Step 1: Clean & Prepare
Make sure the surface where you plan to install the tile is nice and smooth.
Take a sponge and wipe down the surface to get rid of any dust or debris, and then let it dry naturally.
- Remove existing wallpaper, panels, or tiles if present
- Fill holes and smooth uneven spots with filler/putty
- Clean floors with ammonia-based cleaner (vinyl/linoleum)
- Use TSP substitute to clean walls and remove grease
Step 2: Measure
Without removing the peel-away backing, lay out the tiles in the desired pattern.
Measure the pattern and then mark on the wall or surface the location of where you would like to install it, using a level to help make a straight line.
- Mark plumb lines on the wall with level
- Indicate tile layout with chalk or pencil
- Use spacer strips for even tile spacing
- Snap perpendicular chalk lines as a guide

Step 3: Cut the Tiles
If it is necessary to cut a tile to fit it into the space in your design, measure the tile and mark it using a straight edge.
Cut the tile using a saw. Please note that there may be more than one type of tile in a single mosaic pattern, so use caution when cutting an uneven surface.
- Use a wet saw for porcelain, ceramic, and glass tiles
- Score and snap method for clay or natural stone
- Use aviation snips for soft vinyl tiles
- File edges smooth after cutting
Step 4: Apply Soapy Water
Use a sponge or spray bottle to apply a thin layer of soapy water to the wall or surface to be tiled to allow for more time to place and adjust a flat sheet of tile.
- Dilute 2 tsp dish soap per quart of water
- Apply a thin coat with a paint roller or sponge
- Mist the surface lightly if tiles slide around
- Replace soapy water as needed
Step 5: Peel & Stick
Peel off the backing from the rest of the tile.
Carefully position it on the wall or surface you want.
Once all the tiles are, in position apply pressure to make sure the mosaic tile sheets adhere securely to the wall or surface.
- Remove the backing completely before placing
- Drop tiles in place gently rather than pressing
- Use a grout float to apply even pressure
- Roll the entire surface with a roller
Step 6: Grout (if Required)
Luxury Peel & Stick tiles don’t usually need grout because of their design. If the tile does need grout installed, it’s important to follow the manufacturer’s instructions, for the correct installation process.
- Allow tile adhesive to cure for 24-48 hrs before grouting
- Apply grout release or sealer if needed
- Use a grout bag for easier application in joints
- Clean residue with a soft, damp sponge
Frequently Asked Questions
Can I put peel and stick tile over the existing tile?
It’s generally not recommended to install peel and stick tiles over existing tiles. The smooth surface of the tiles can make it challenging for the adhesive on the back of the peel and stick tiles to bond. It’s best to remove the existing tile.
Do I need adhesive?
In some cases, you won’t need extra adhesive with peel and stick tiles because they come with pre-applied adhesive on their backs and corners. However, if you want a stronger bond, especially on surfaces like concrete, you can consider using high-quality tile adhesives.
Do I need to use grout with peel and stick tiles?
No, typically there’s no need for grout when using peel and stick tiles since they already have a backing. The backing allows them to adhere directly to the other flooring or wall surface without requiring grout.
How should I clean peel and stick tiles?
To clean your peel and stick tiles use a soap and water solution or an all-purpose spray cleaner. Avoid using cleaners that could potentially scratch the wood surface. You can also lightly mop them with a cloth or mop. Take care not to apply force while cleaning so as not to dislodge the tiles from their position.
Conclusion
Luxury Peel & Stick tiles are a great solution when you are looking to add the style and durability of tile with a quick installation that you can do yourself. Now that you know how easy installing this tile can be, take a look at these tile collections to find your next project.
Join our social networks