
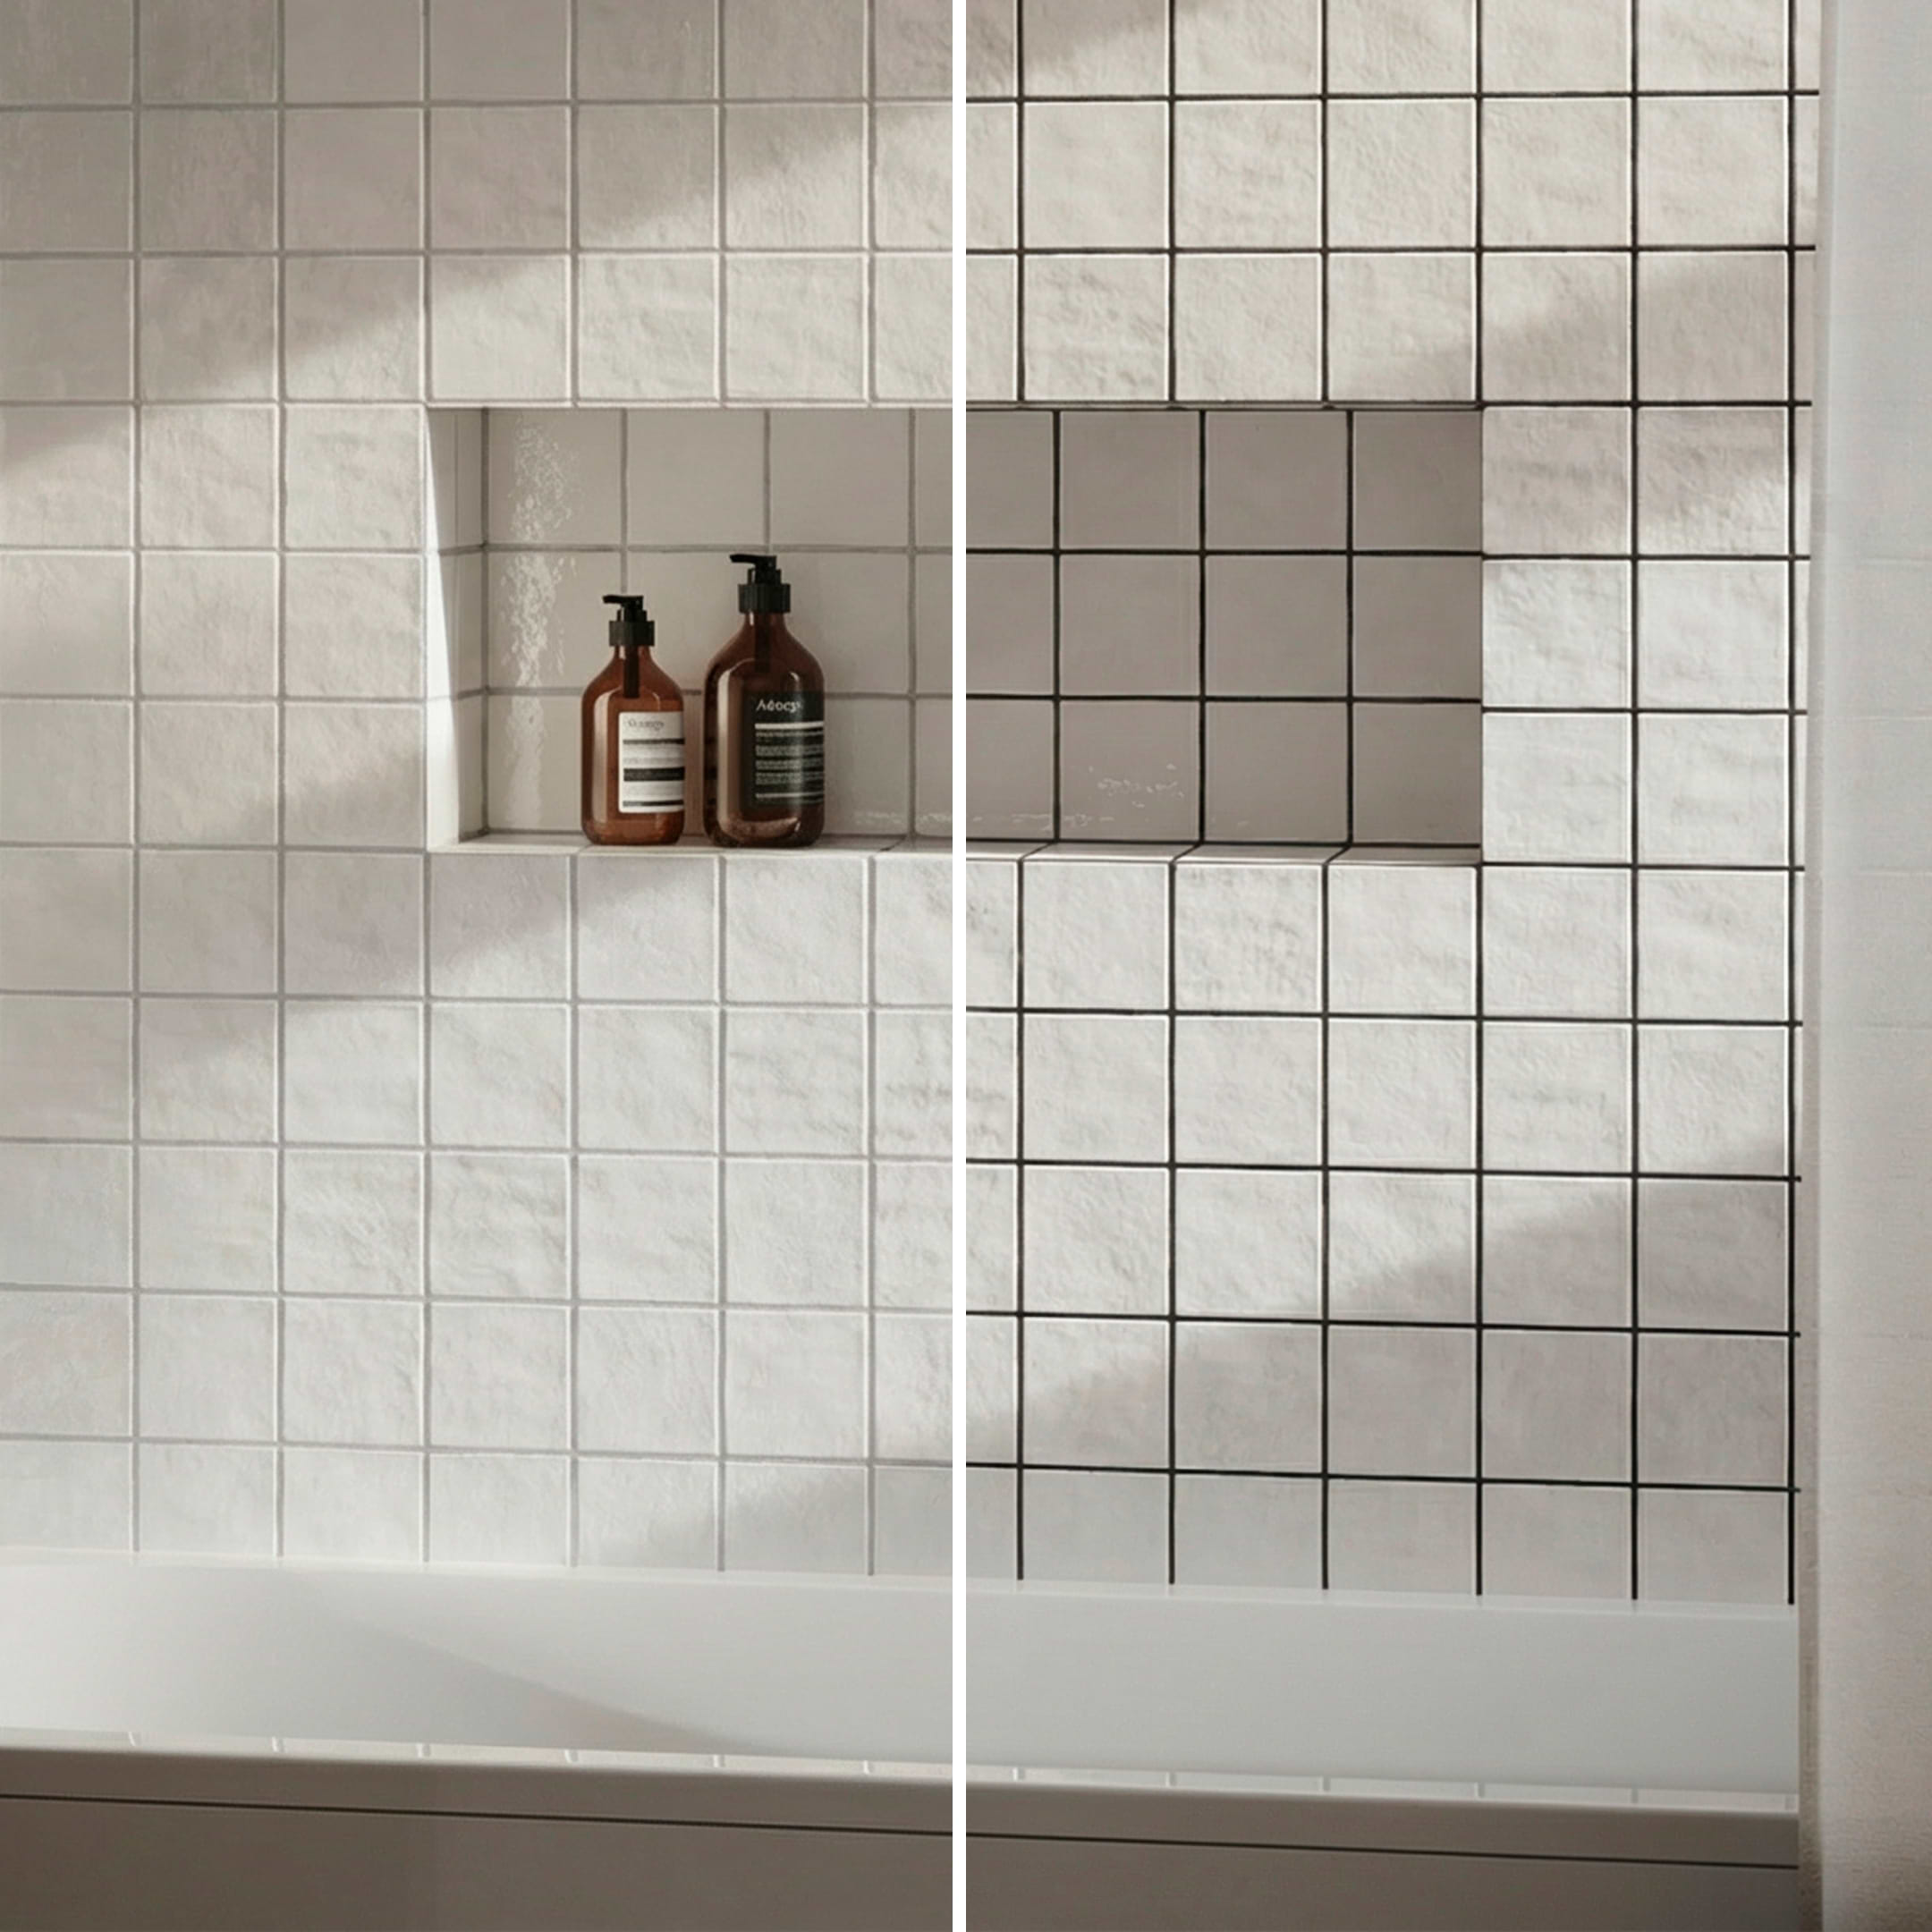
If your shower, backsplash, or floor tile requires regrouting, you may want to do it yourself. Though a professional is always recommended, regrouting can be a straightforward process if you have the right tools and follow basic steps. Here’s what you need to know.
Why Does Tile Need Regrouting?
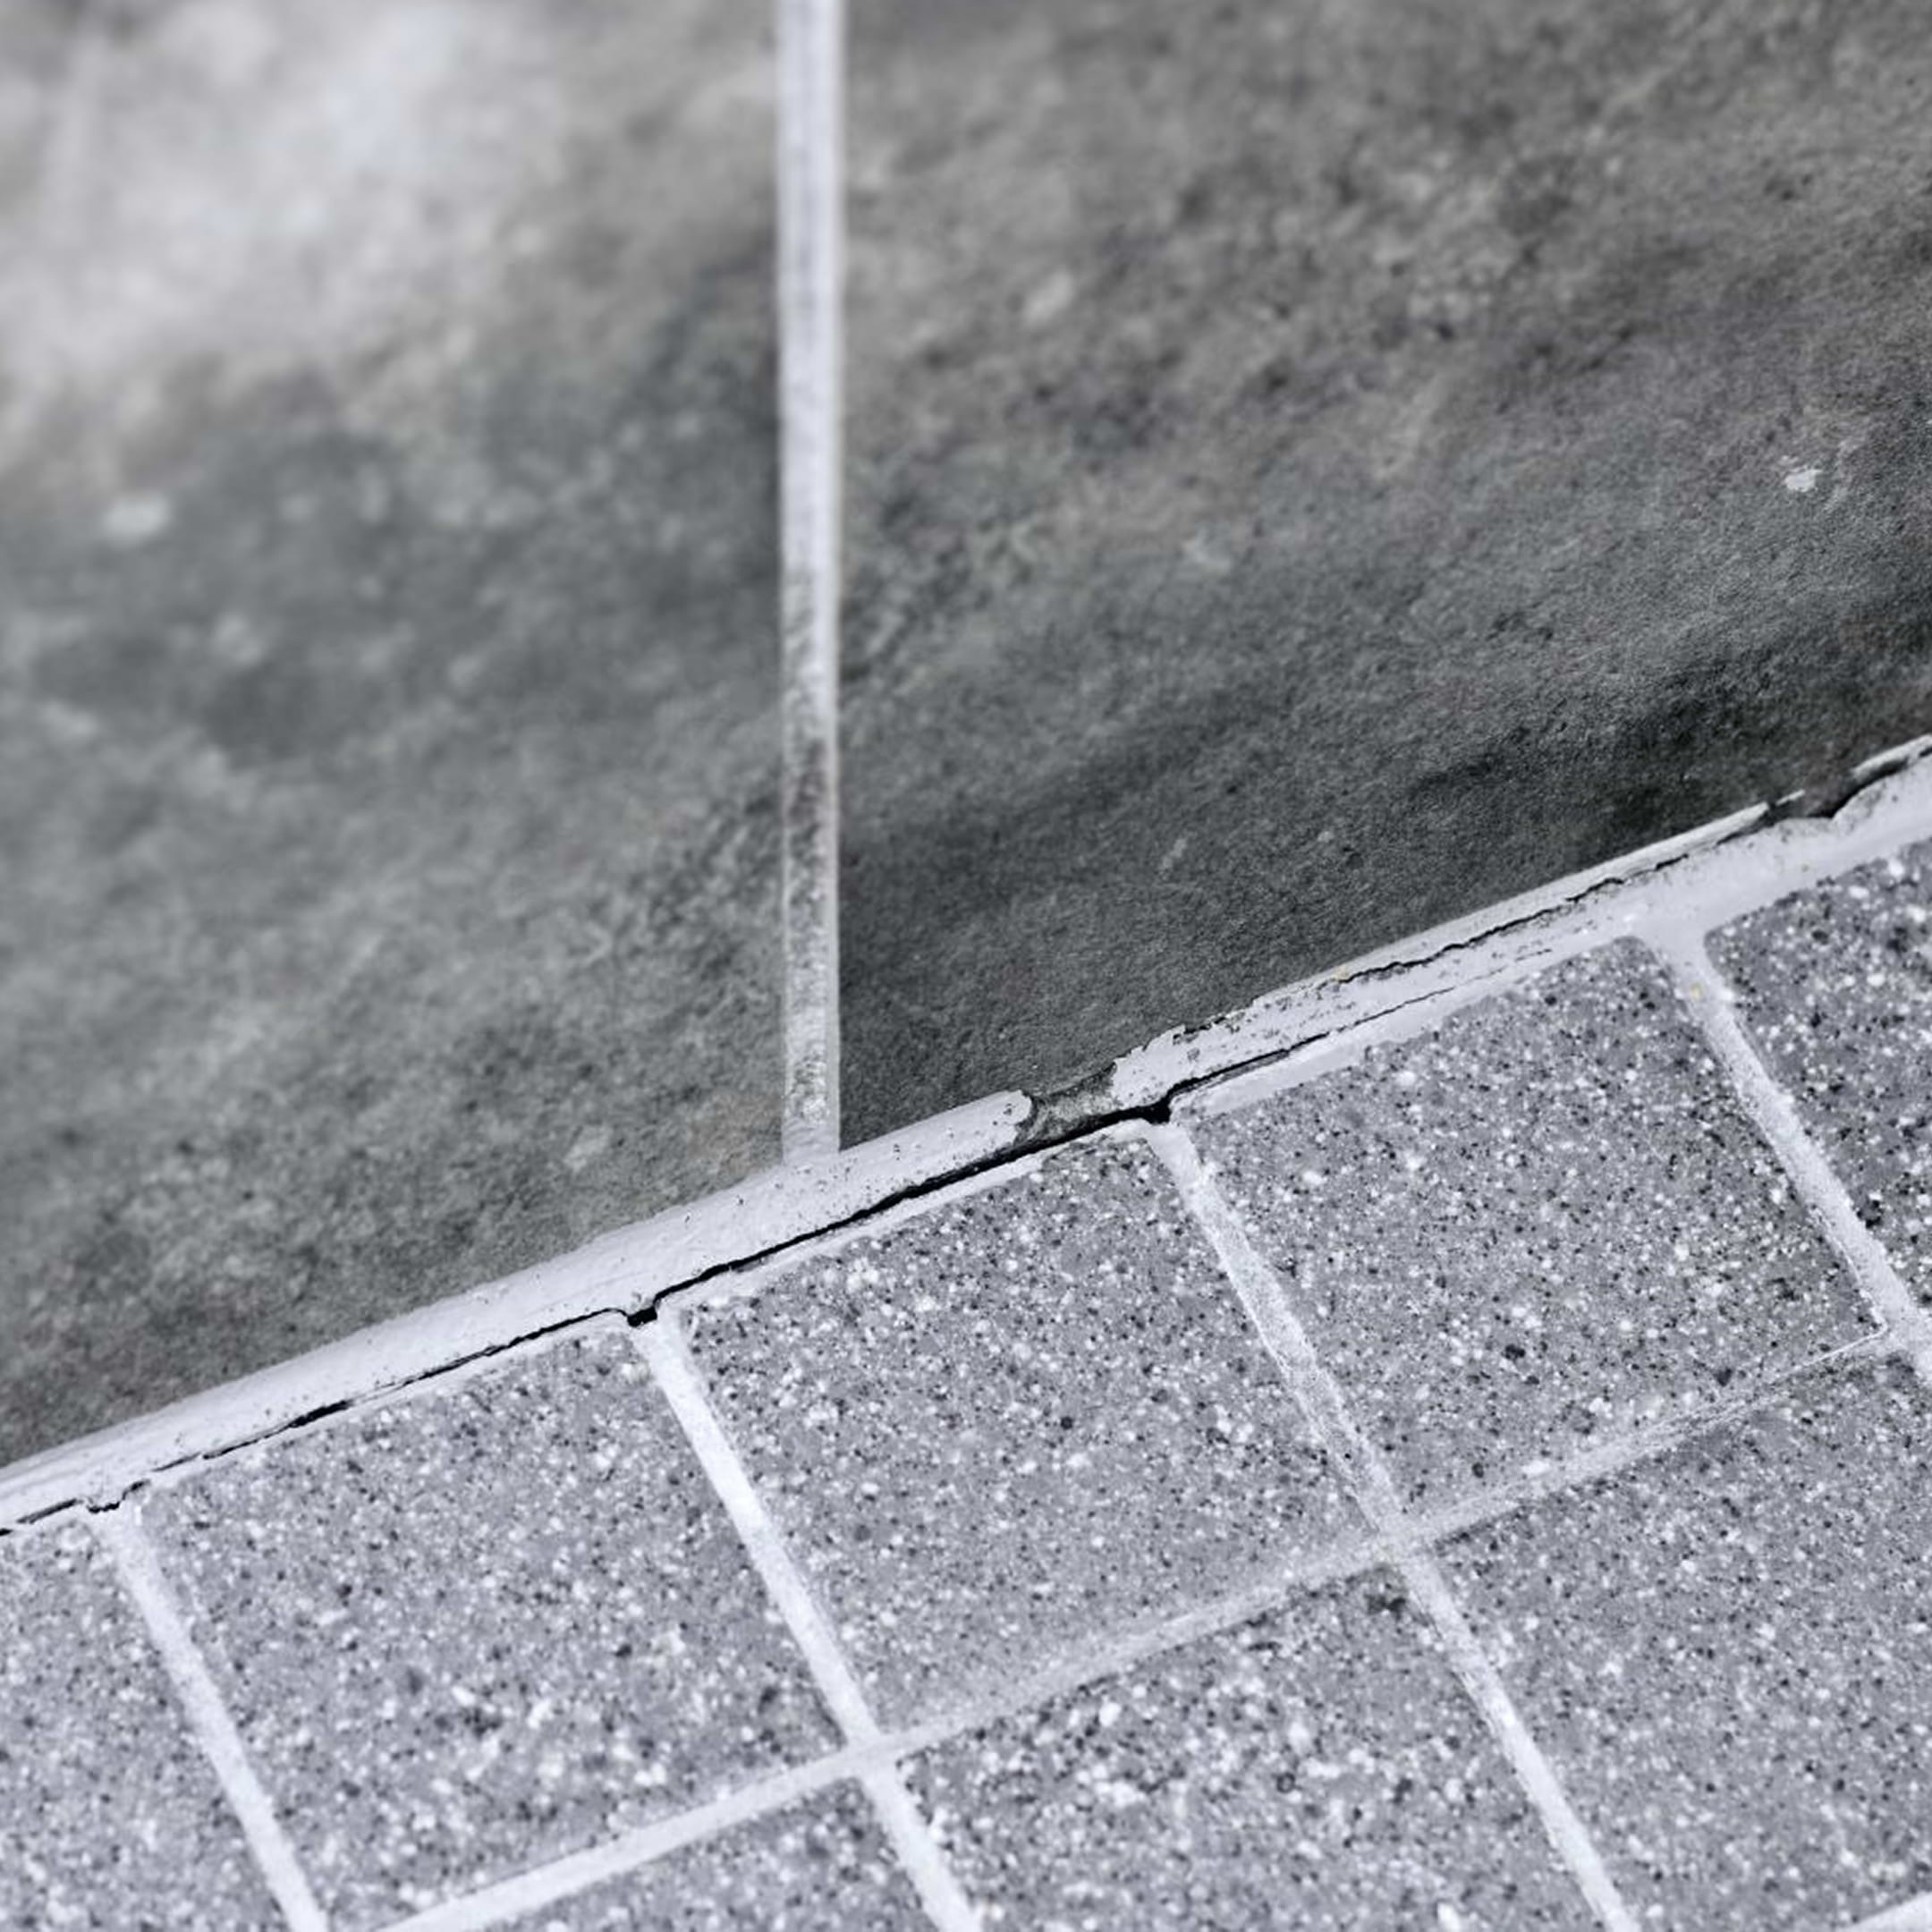
Grout will wear and chip away over the years due to cleaning, scrubbing, and general use. While some low-use tiled spaces can go for decades without requiring regrouting, those subjected to frequent wear and tear will generally benefit from regrouting every 10 to 15 years or so. That life span may be shorter in humid areas such as bathrooms or outdoors.

What Do I Need to Regrout Tile?
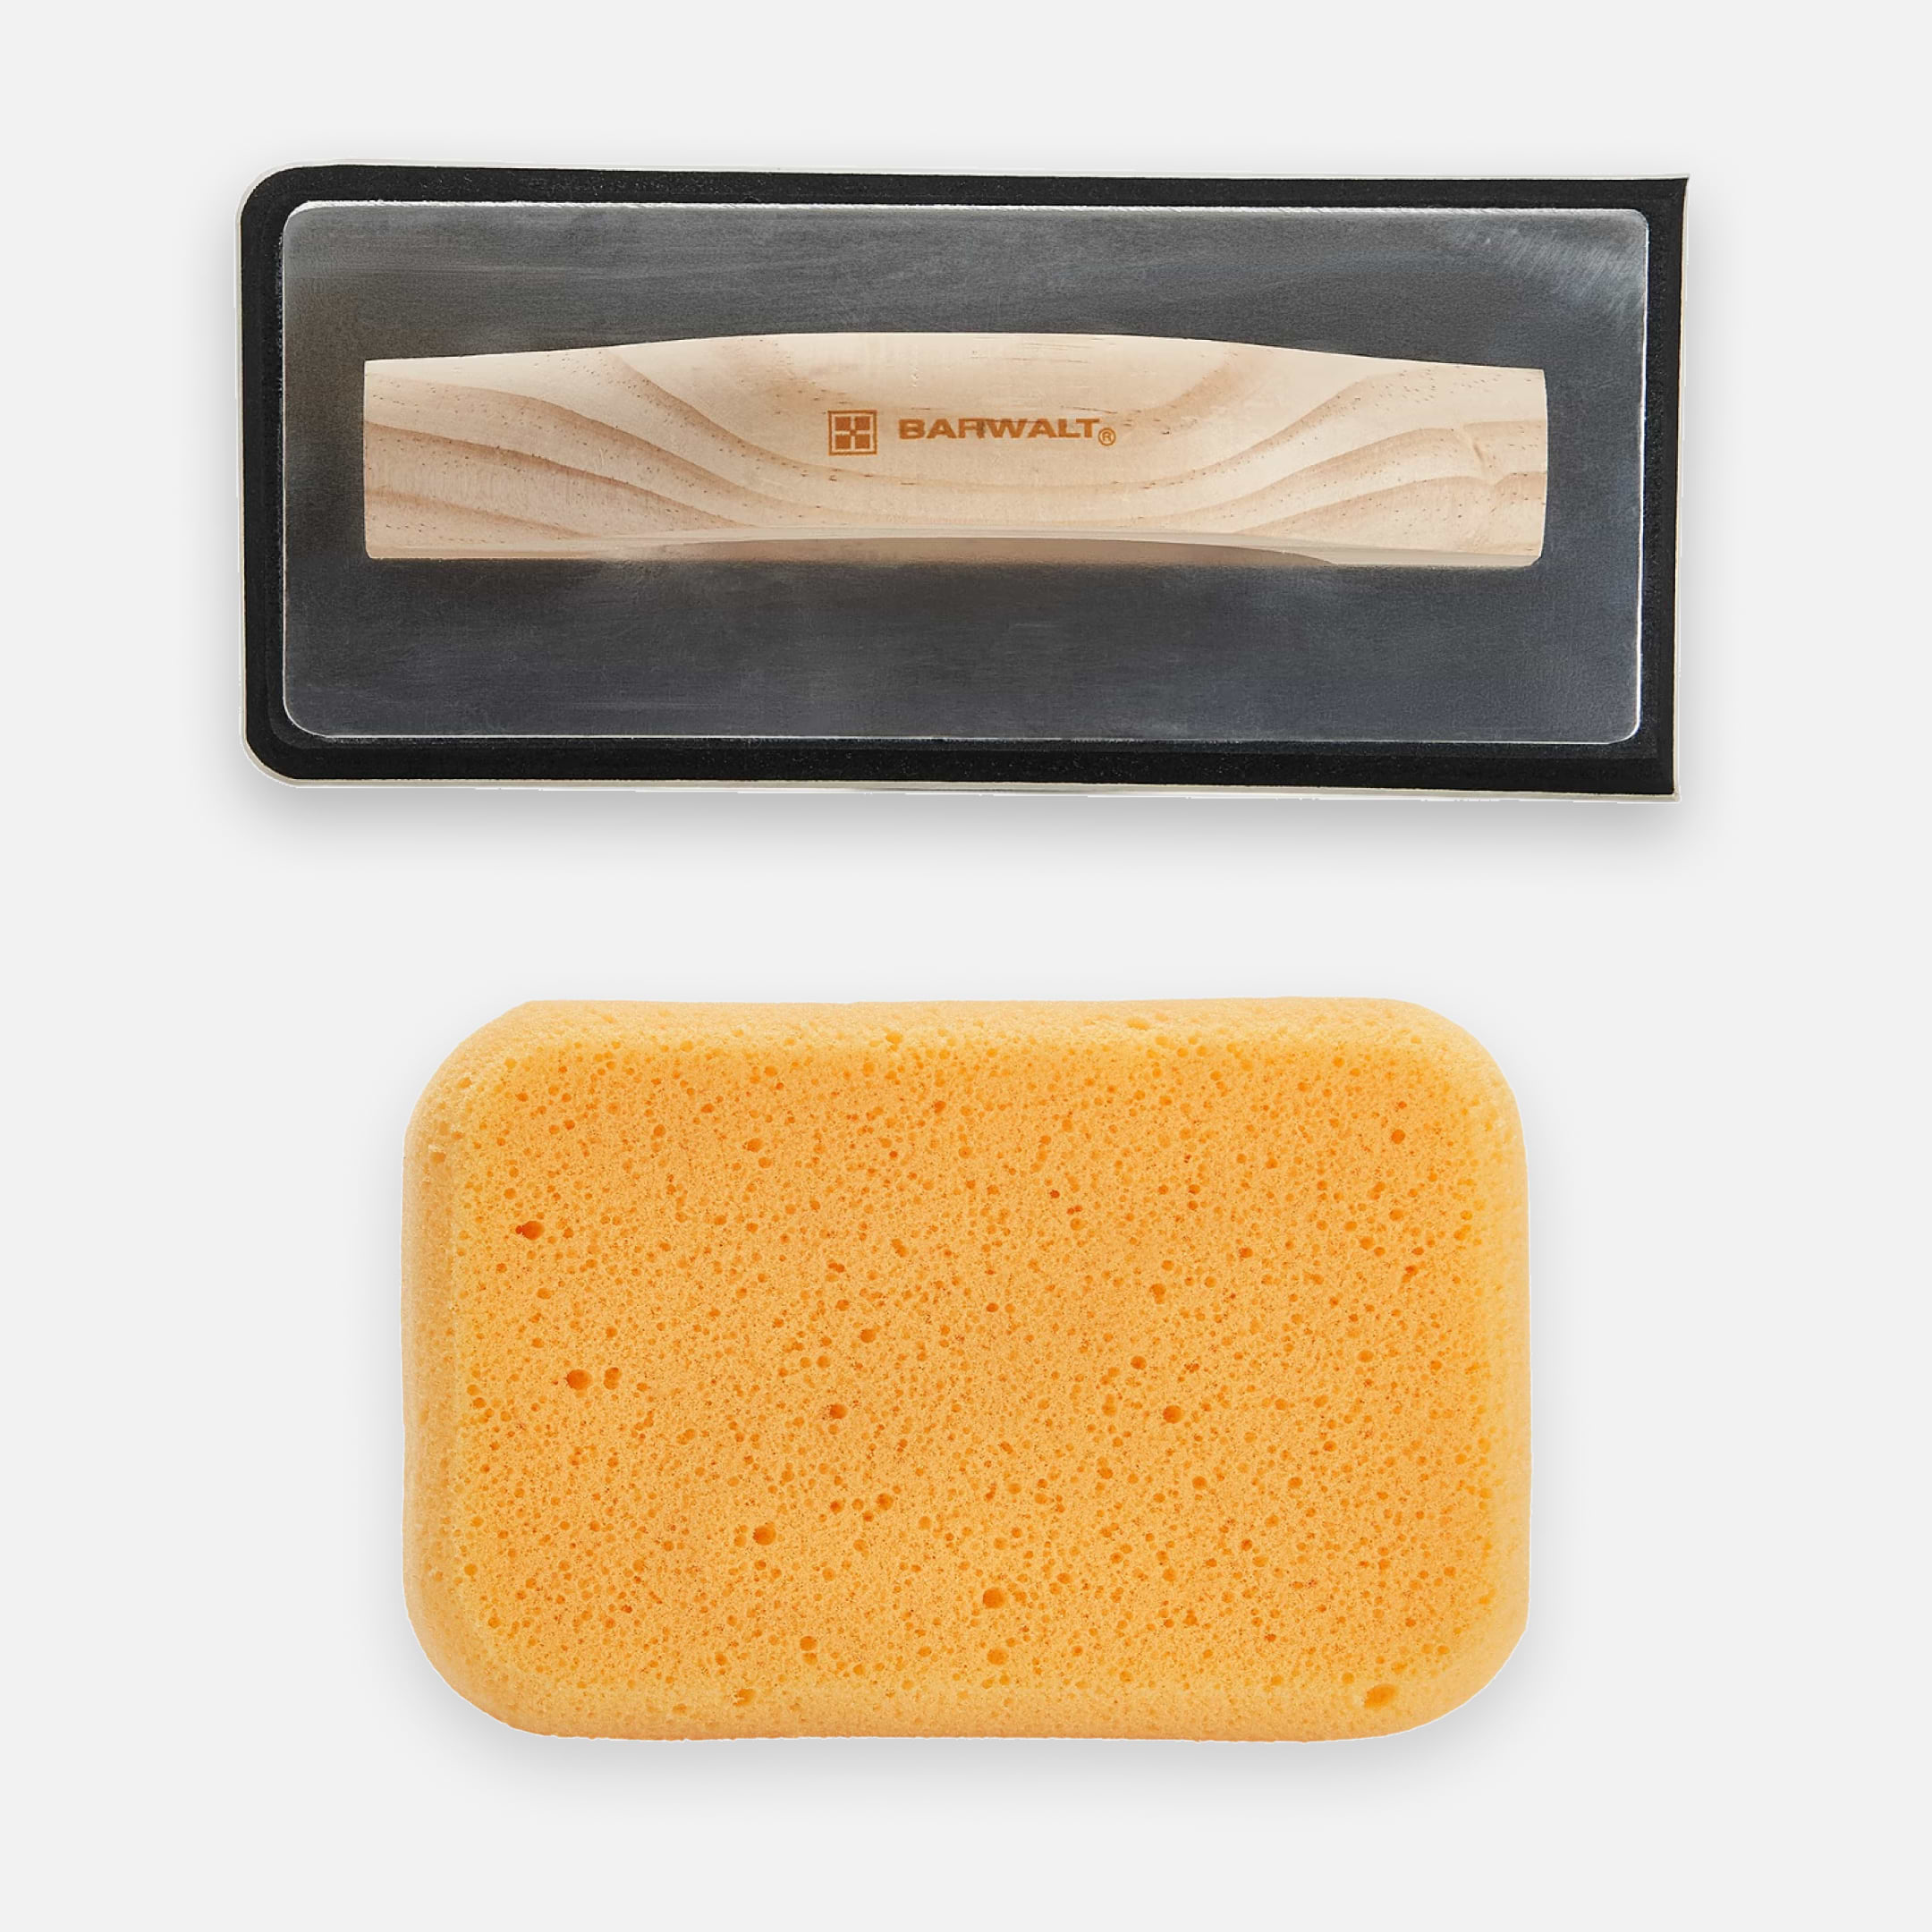
Here’s what you need to safely and effectively regrout installed tile:
- Grout saw. A handheld tool specifically designed to remove old grout from between tiles.
- New grout mix. You’ll generally want to use the same type and color as the original grout.
- Rubber grout float. A rubber tool that spreads the grout and also scrapes away the excess.
- Large sponge & paper towels. To wipe away excess grout and grout residue.
- Tile sealant. Seals the new grout after it’s fully dry to keep it protected.
We sell these online:
What Are the Regrouting Steps?
Step 1: Prepare the area
The first step in making sure that the regrouting process goes smoothly is to ensure that you’re prepared. This means gathering the proper tools and clearing the work area of any unnecessary objects.
Step 2: Extract the old grout
Start removing the old grout with the grout saw, running the tool back and forth on the grout line. Being careful not to touch the tile itself, saw away until the grout layer is removed. Vacuum away the debris and wipe the joints with a lightly damp sponge.
Step 3: Regrout your tile
Now you’re ready to regrout. To start, mix the grout according to the packaging directions. Apply the grout with the rubber grout float at a 45-degree angle, going over the area a few times to ensure it penetrates and to eliminate any air bubbles. Don’t worry if some grout gets on the tiles—you’ll be cleaning it in the next step. If you’re regrouting a larger area, be sure to work in batches so that you’re able to clear and clean the surface in a timely fashion.
Step 4: Scrape the surface clean
To clear the tile surface of any grout smudges, take the rubber grout float and, using a side edge, move it diagonally across the tiles to remove the excess. Why diagonally? Because that way you’re not at risk of accidentally digging into the fresh new grout.
Step 5: Wait
Once the grout has been applied and you’ve removed the initial excess, wait 10 – 15 minutes for the grout to set. Then, clean the surface with a slightly damp sponge using a circular motion to remove any remaining grout residue. Then, follow with paper towels in a similar fashion. For best results, let the grout dry for at least 24 hours before walking on or interacting with the regrouted tile.
Step 6: Seal the lines
Lastly, and most importantly, seal the new grout lines once they’re fully dry using grout sealant.
FAQ: Common Questions on Regrouting Tile
How do I know when grout needs replacing?
You can tell when grout needs replacing when it’s cracked, loose, or crumbling. Grout with stains or mold that cannot be removed should also be replaced.
Can I regrout my shower, backsplash, or floor tile myself?
Yes, you can regrout a shower, backsplash, or floor by yourself, so long as you have the proper equipment and follow the right steps.
Can you put new grout over old grout?
Putting new grout over old grout is not recommended. The best results are achieved by first removing the old grout so that the new grout can achieve a good bond.
Do you have to dig out old grout before regrouting?
Yes, you should dig out the grout before installing the new grout. If you don’t, the new grout won’t be able to adhere as well.