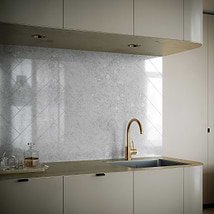
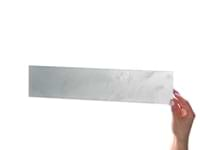
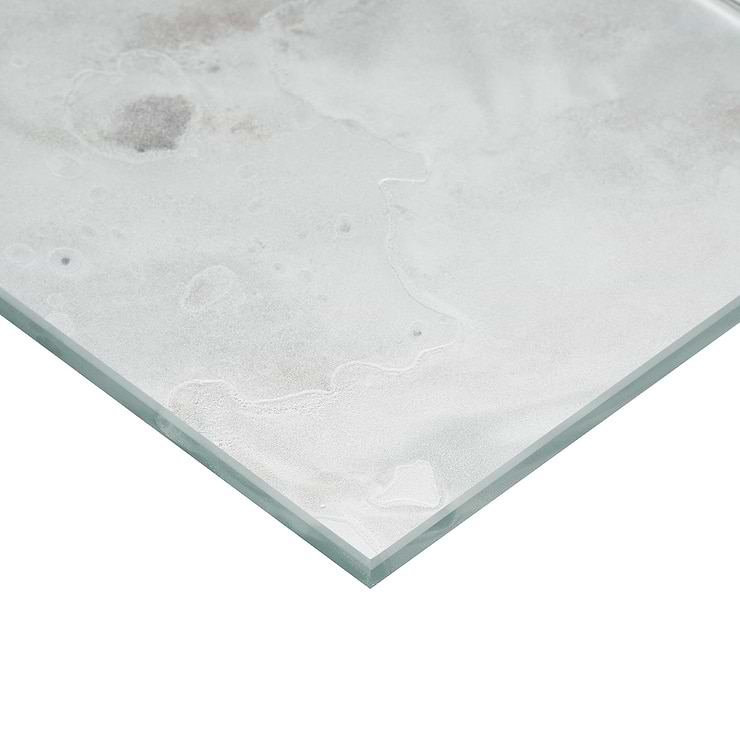
Marmont Smoke White 4.5x18 Polished Antique Mirror Tile
- Buy 72 boxes at $25.87 sq.ft and save 10%
Loading...
All samples ship for FREE when you order 5 samples or more! Samples typically ship within 2-4 business days.
For all regular priced non-sample orders, get fast, flat-rate shipping. Standard Shipping orders ship in 5-7 business days. Expedited Shipping orders placed before 2pm EST Monday-Thursday or Friday by 10:30am ship the same day. VIP Freight typically ships in 2-4 business days. Ordering from TileBar means you're ordering from the source. Most products are in stock in our warehouses and ready to ship to your doorstep. Our fast shipping means you should expect to receive your order within 10-14 days. Need it sooner? Expedited shipping options are available at checkout.
* Flat rate shipping does not apply to closeouts, specially priced orders, slabs or scrap lots. Additional charges apply for shipping to AK, HI, PR and the U.S. Virgin Islands.
* Click here for more details.
Did you order too many tiles, or not 100% satisfied with your purchase? No problem. TileBar is happy to accept returns within 365 days of your order. Please read the following information carefully.
1. You must request an RMA (Return Merchandise Authorization) form by emailing [email protected].
2. Samples, clearance, FINAL SALE items, and custom orders are non-refundable.
3. In order for us to continue to be able to offer affordable pricing, a 15% restocking fee is assessed on all returns. Shipping charges are non-refundable. Customer are responsible for return shipping charges and arrangements.
4. All returns must be in their original packaging and in the condition in which they were received.
* Click here for more details.
-
$120.00
-
$32.00
-
$35.25
-
$189.99
-
$19.99


Why You'll Love It
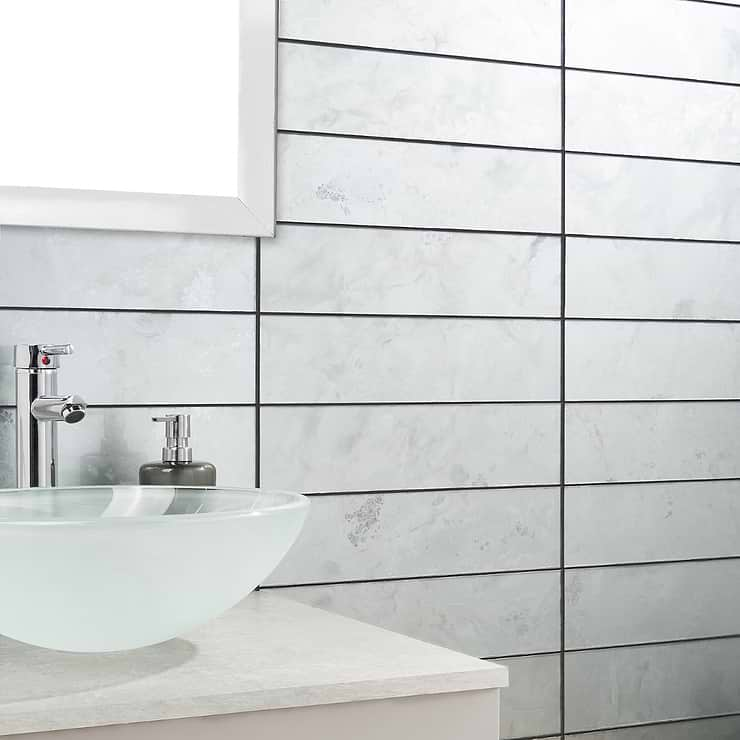
- 01Real mirror surface makes spaces feel larger and brighter
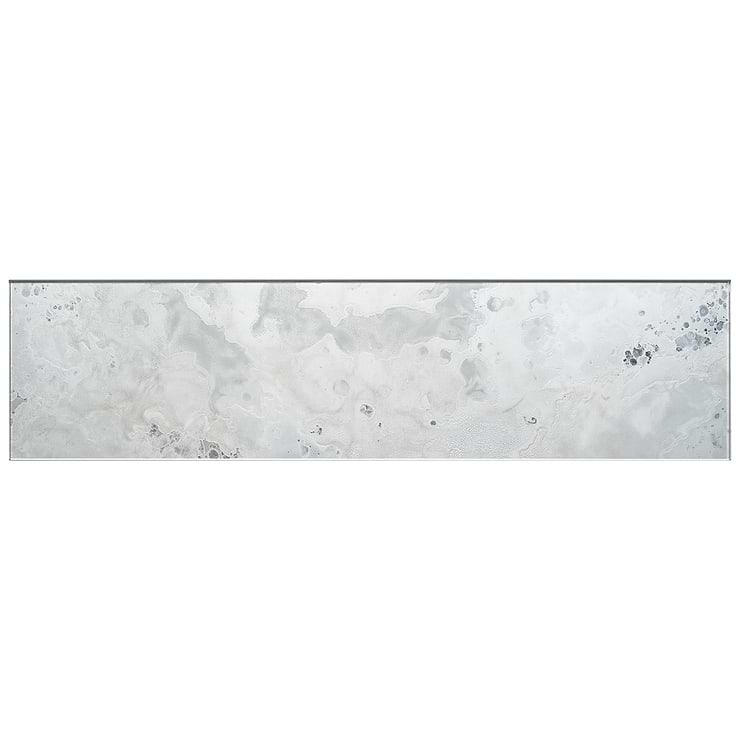
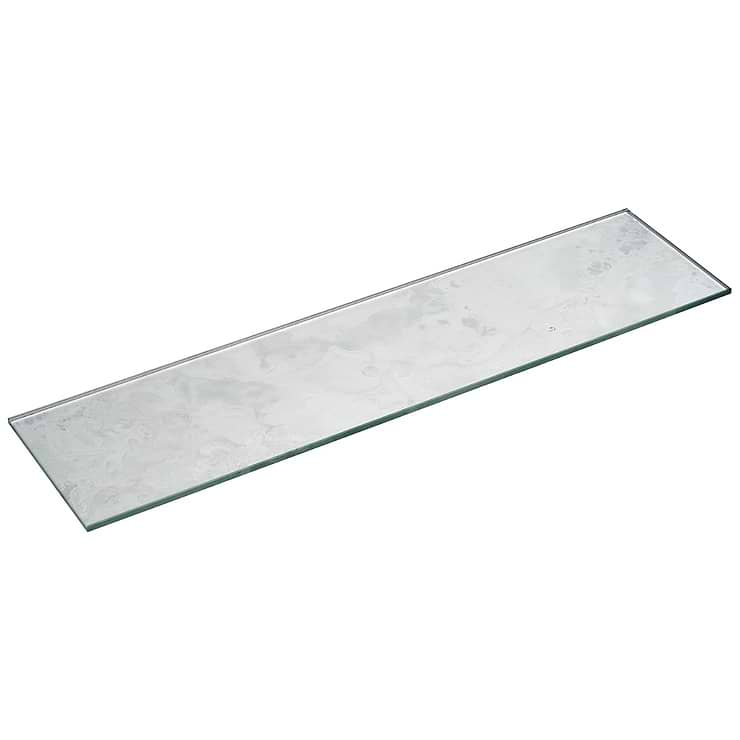
- 02Natural tarnish is genuine, not printed, every tile has a unique surface
- 03Made for residential and commercial walls
- 04Great for kitchen, backsplash, bathroom, shower

-

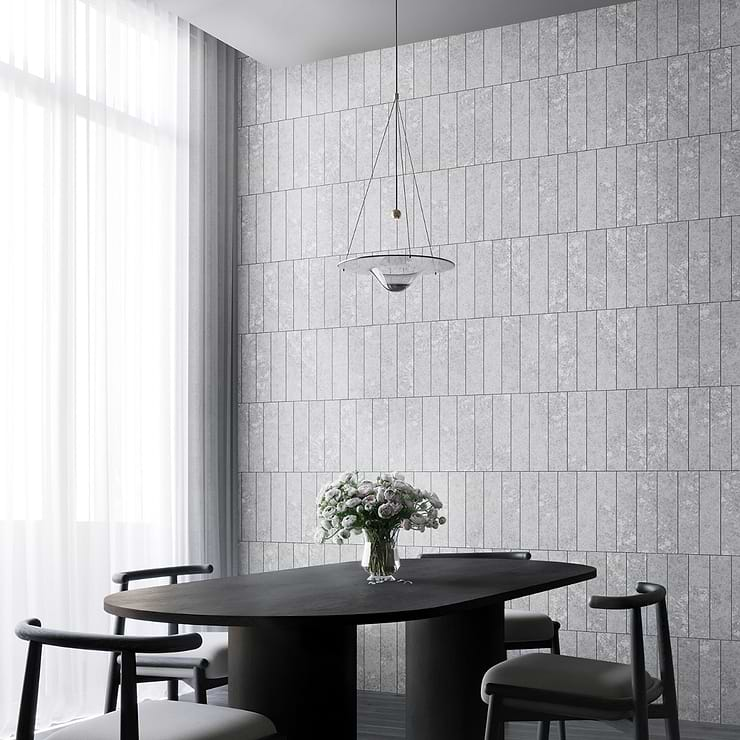
A fresh take on a timeless antique
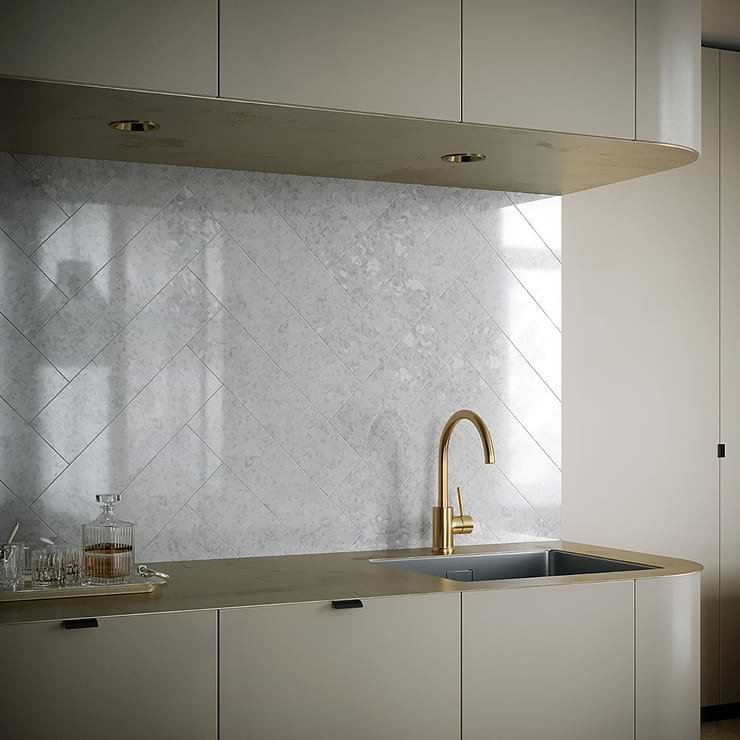
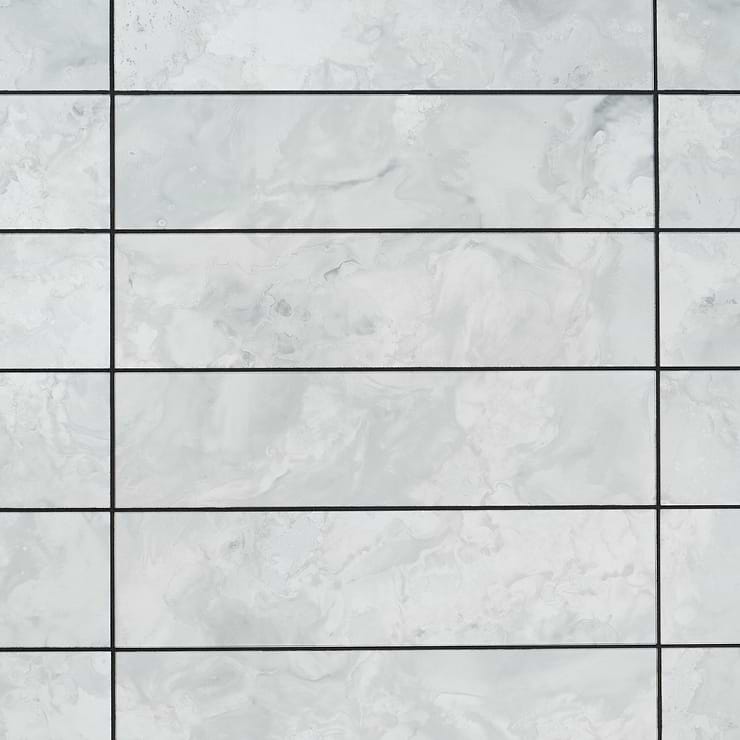
This Tile: The Marmont Smoke White 4.5x18 Polished Antique Mirror Tile replicates the look that mirrors acquire as they age. It presents as a glam tile with a warm, vintage look. It possesses a light metallic tone and a subtly reflective surface that will enhance light and movement in your space without becoming a distraction.No-cut backsplash
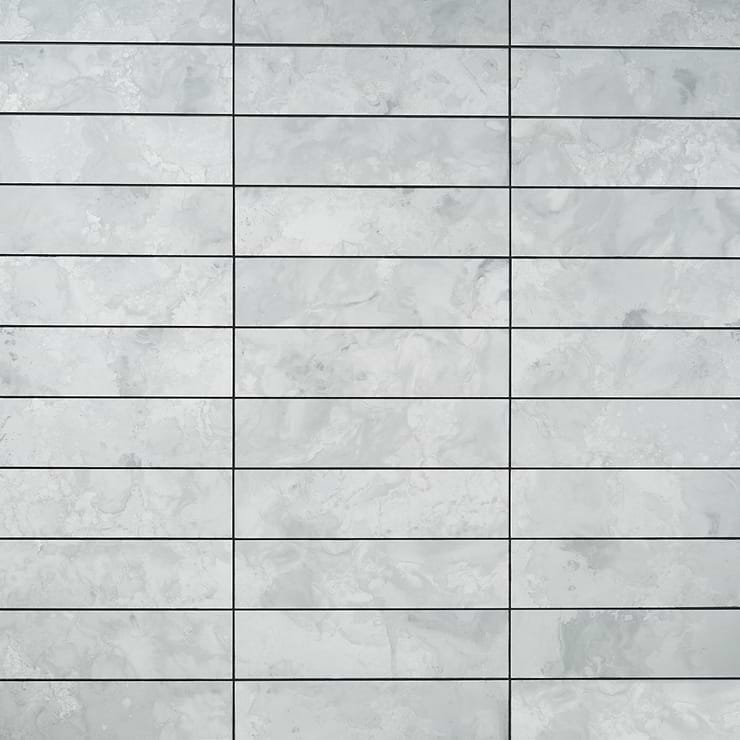
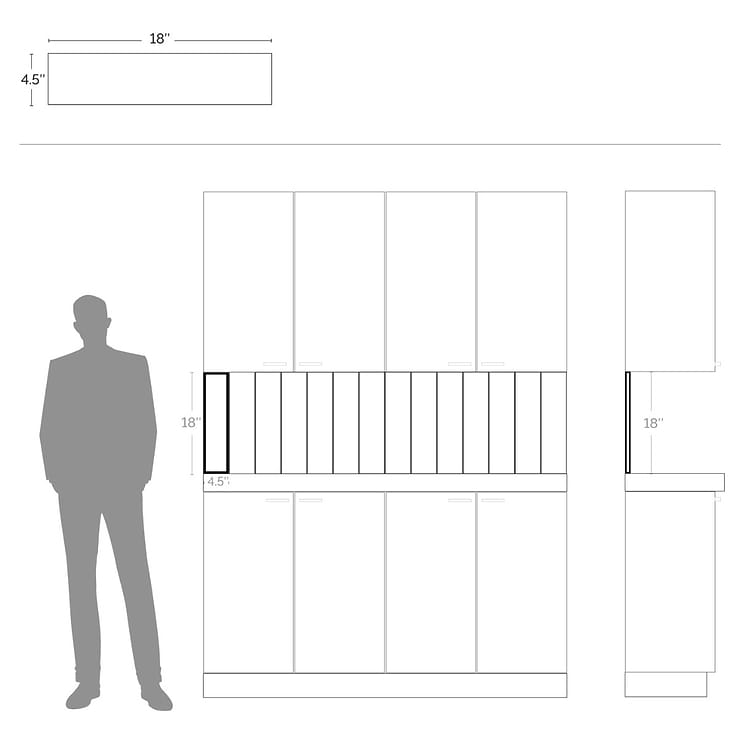
Marmont fits any standard 18-inch-high backsplash perfectly, whether installed vertically or horizontally.
Distinctive character
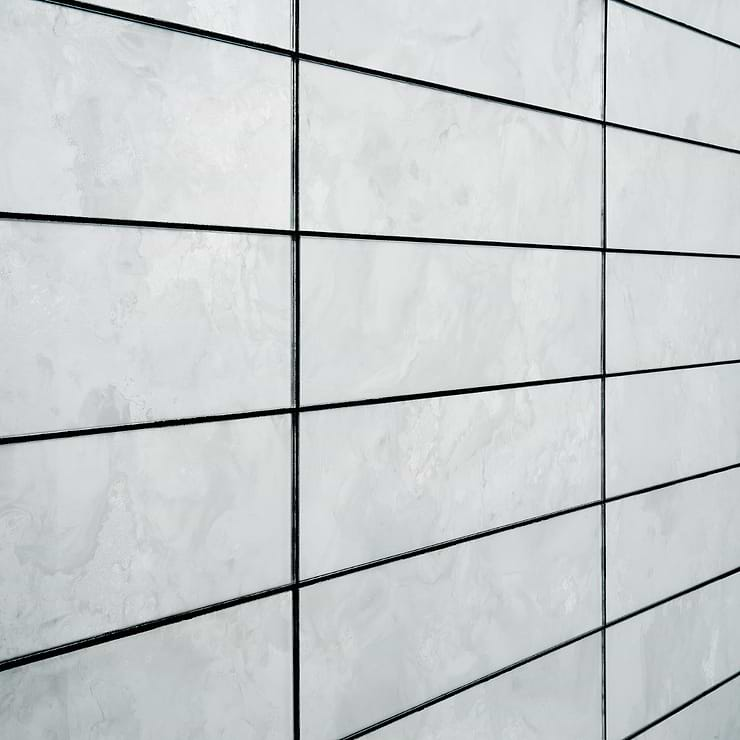
A softer and muted reflection creates a romantic ambiance.
-
Embellish your space with reflective charm
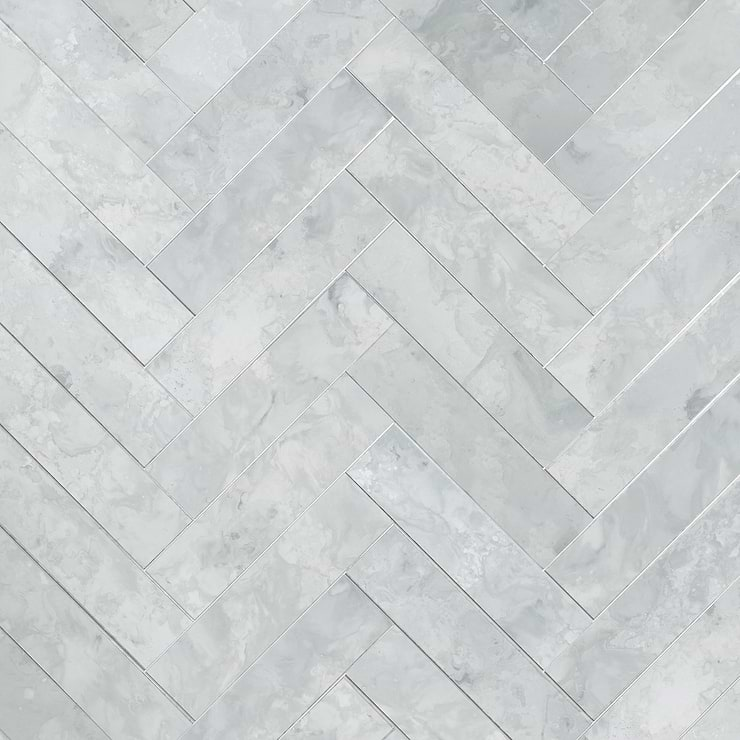
The Marmont collection evokes a sense of luxury with a vintage look that makes any space feel well-loved. These tiles have a polished surface designed to mimic the look of an antique mirror. Marmont is available in three metallic colors at 4.5-by-18-inches—a perfect fit for most backsplash installations. -

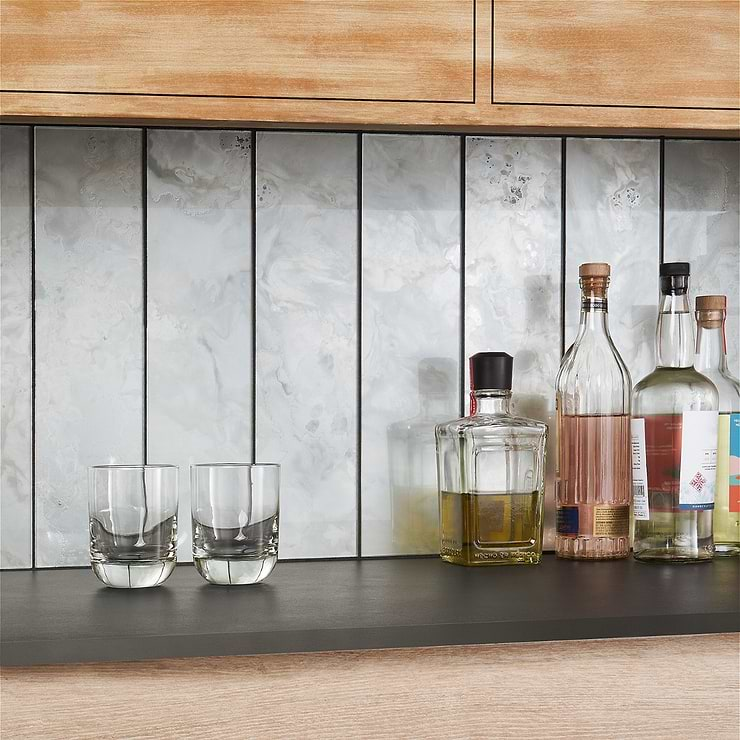
Aged to perfection
Marmont’s aging process provides each tile with a patina that gives it heirloom appeal. Its cloudy and subdued reflective surface makes this collection a more subtle approach to mirror tile. Choose Marmont for a tile that can play a perfect supporting role in bringing out the best of your treasured antiques.
Key Specs
-
Chip Size
NA
-
Commercial
Wall Only
-
Item Color
White Mirror
-
Item Size
4.37" x 17.48"
-
Material
Antique Mirror
-
Residential
Wall Only
-
Tile Finish
Polished
Detailed Specs
-
Available Sizes
4.5x18"
-
Coverage
0.53
-
Location
Backsplash, Bathroom, Indoor, Kitchen
-
Look
Mirror Look
-
Pattern Shape
Brick
-
Patterns
Rectangle
-
Pieces Per Box
14
-
Recommended Grout Joint
1/8"
-
Sample Size
4.5" x 18"
-
Sq Ft Per Box
7.42
-
Style
Classic, Mid Century, Transitional
-
Tile Faces
NA
-
Tile Thickness
5 mm
-
Tile Use
Backsplash, Bathroom Wall, Kitchen Wall, Wall Tile
-
Weight
20.3 lbs
INSTALLATION GLASS TILE
Substrate preparation
An installation is only as good as the structure it is installed. Today’s adhesives and mortars will warranty on most substrates, (Gypsum wall board, Cement Board, Cement Masonry Unit and Plywood). Different substrates require different preparation by that installation contractor. Make sure the substrates are structurally sound and free from any sealers or contaminants for both vertical and horizontal installations. The load deflection standard is L/360 for all porcelain and ceramic tiles. (L/720 for Stone)
For Glass tile the use of a primer on the substrate, this allows the mortar to cure at the same rate and provides color consistency. Some glass is translucent, and any mortar color differential could cause shading in the tile.
TileBar Tech Tips:
- Try the drip test – drip water on your substrate and if it absorbs then you can ensure that your mortar adhesive has both a mechanical and chemical bond. If the water beads up then there is a bond breaker on your substrate. This could be a wax or sealer.
- Use a straight edge and level - Flatness ANSI A108.02 (1/4” of change in 10’, 1/8” for stone) with no bump greater than 1/16”
- Always check your adhesives instructions noting the suitable substrates and limitations.
Lay Out
Take all measurements of the space or room and develop a layout plan. Locate all cuts and adjust layout as necessary. Confirm the final layout. Use proper equipment to cut your tiles. Glass tile should be cut with a wet saw with a blade made for glass. Make sure to follow all safety precautions and protection noted by the equipment used. Blend tile materials to ensure consistency throughout the project area. NOW you are ready to tile!
TileBar Tech Tips:
- Layout your mosaic sheets in a brick pattern if possible. This should help conceal the sheets perimeters and help the installation blend together.
Adhesives and Mortar
Use a glass tile specific mortar. Glass tile requires some special considerations for mortars. Some glass is translucent, and the mortar needs to as white as possible. Make sure you use the proper directional troweling technics and the proper trowel size.
|
Longest Edge Measurements |
Suggested |
|
Tile Size |
Trowel Size |
|
Mosaic Tile |
1/8" x 1/8" |
|
2" through 3" |
1/8" x 1/8" |
|
3" though 6" |
1/4" x 1/4" |
|
6" through 12" |
1/4" x 3/8" |
|
12" though 24" |
1/2" x 1/2" |
Install Overview:
- Mix the mortar per the instructions.
- With a damp sponge clean off the substrate and tile
- With the flat side of the trowel “burn” the mortar into the substrate on larger tiles
- Trowel material on the wall with the appropriately sized trowel in a consistent direction leaving a ridged setting bed.
- Use the flat side of the trowel to flatten the ridges for translucent tiles.
- Lay tile in the mortar and flatten the mortar with firm even pressure.
- Use a piece of wood beating block and grout float to hammer tile into the mortar.
- Make sure grout joints are clear of extra mortar materials.
- Let system cure fully until grouting begins, usually 24 hours.
TileBar Tech Tips:
- There are some mortars that can be blended with the grout color. When you have a thin glass sometimes thinset is visible in the grout joints. This will minimize the cleaning of those joints.
- Do not work too far ahead. Make sure that the mortar stays fresh and has not skimmed over.
- Minimum mortar coverages should be evenly distributed and cover 80% of tiles in a dry area and 95% in wet areas. Once you set tiles pull up a couple to ensure proper coverage
- Directional troweling: https://www.youtube.com/watch?v=Way5bMh-eYg&t=31s
Grout
Grout can make or break a new tile project. A great grout job can aesthetically enhance the project. First choose the appropriate grout joint size, remember smaller is not always better. How the mosaic tile is mounted to the sheet determines the grout joint size. Take a step back and make sure the sheets perimeter joints are the same as the joints that are in the sheet. If you can see the individual sheets you may need to adjust.
Install Overview:
- Mix the grout per the instructions.
- Using a grout float at 45-degree angle to press in and fill all the grout joints.
- Cut the grout off the top of the tile using the grout float dragging it at 90 degrees angle diagonally across the tile as a squeegee.
- Now that the joints are full dress them with a sponge or scrub pad.
- After a 15-20 minutes clean again with clean water and sponge and let cure.
- After the grout has dried, there will be a grout haze and it can be buffed with dry cloth.
- Limit use until fully cured, usually 24 hours.
TileBar Tech Tip:
- Use clean water, A LOT!
- Don’t get too far ahead. Clean in a timely manner what you just grouted.
- Clean sponge often, typically 1 swipe, flip the sponge over and 1 swipe, then rinse the sponge clean.
- Make sure the joints do not have dust or debris in them. Also, any thinset that has squeezed up needs to be removed.
- All installation must have movement joints. Use a color matched acrylic or silicone sealant to provide movement protection. Movement joints are for all transitions, base, inside and outside corners.
- Keep the project area clean. Even the lightest dust could permanently stain any uncured grout joints.
- Use the right grout for your specific installation:
- Standard polymer modified grout
- High performance cement grout
- Premixed grout
- Epoxy Grout
Cleaning and Sealing
Keeping an installation looking new is not as difficult as you may think. Regular cleaning the entire system with a neutral PH non-acidic cleaner should do the job. There are more harsh cleaners available and must used carefully by following all instructions. Always do a test area in a non-visible place
TileBar Tech Tip:
- Follow all instruction closely.
- The more the area is used the more often it will have to be cleaned and sealed.
- If an acidic cleaner is chosen, make sure you protect adjacent materials.
-
$120.00
-
$32.00
-
$35.25
-
$189.99
-
$19.99