Visit
Visit 
Drill-It-Yourself: Drilling Into Tile With Ease
 Copy Link
 Email
Email
 Twitter
 Pinterest
 Instagram
 Facebook
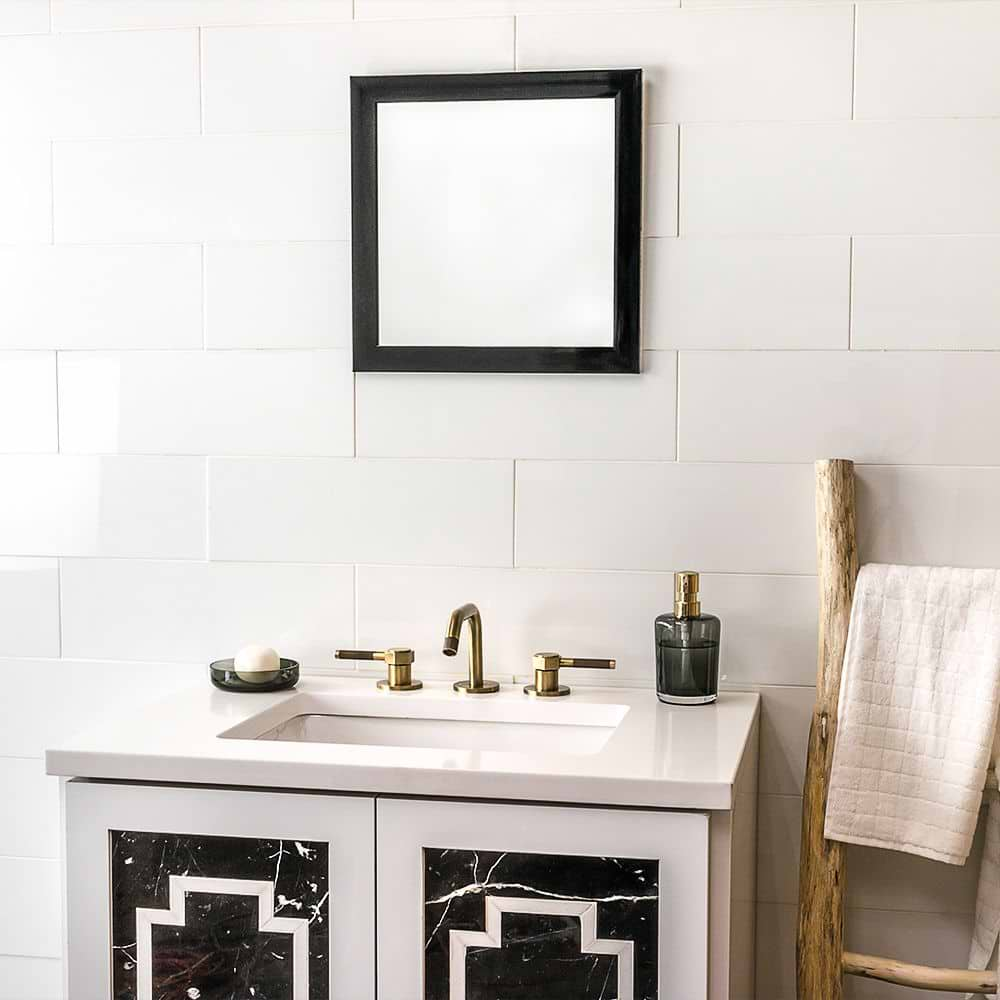
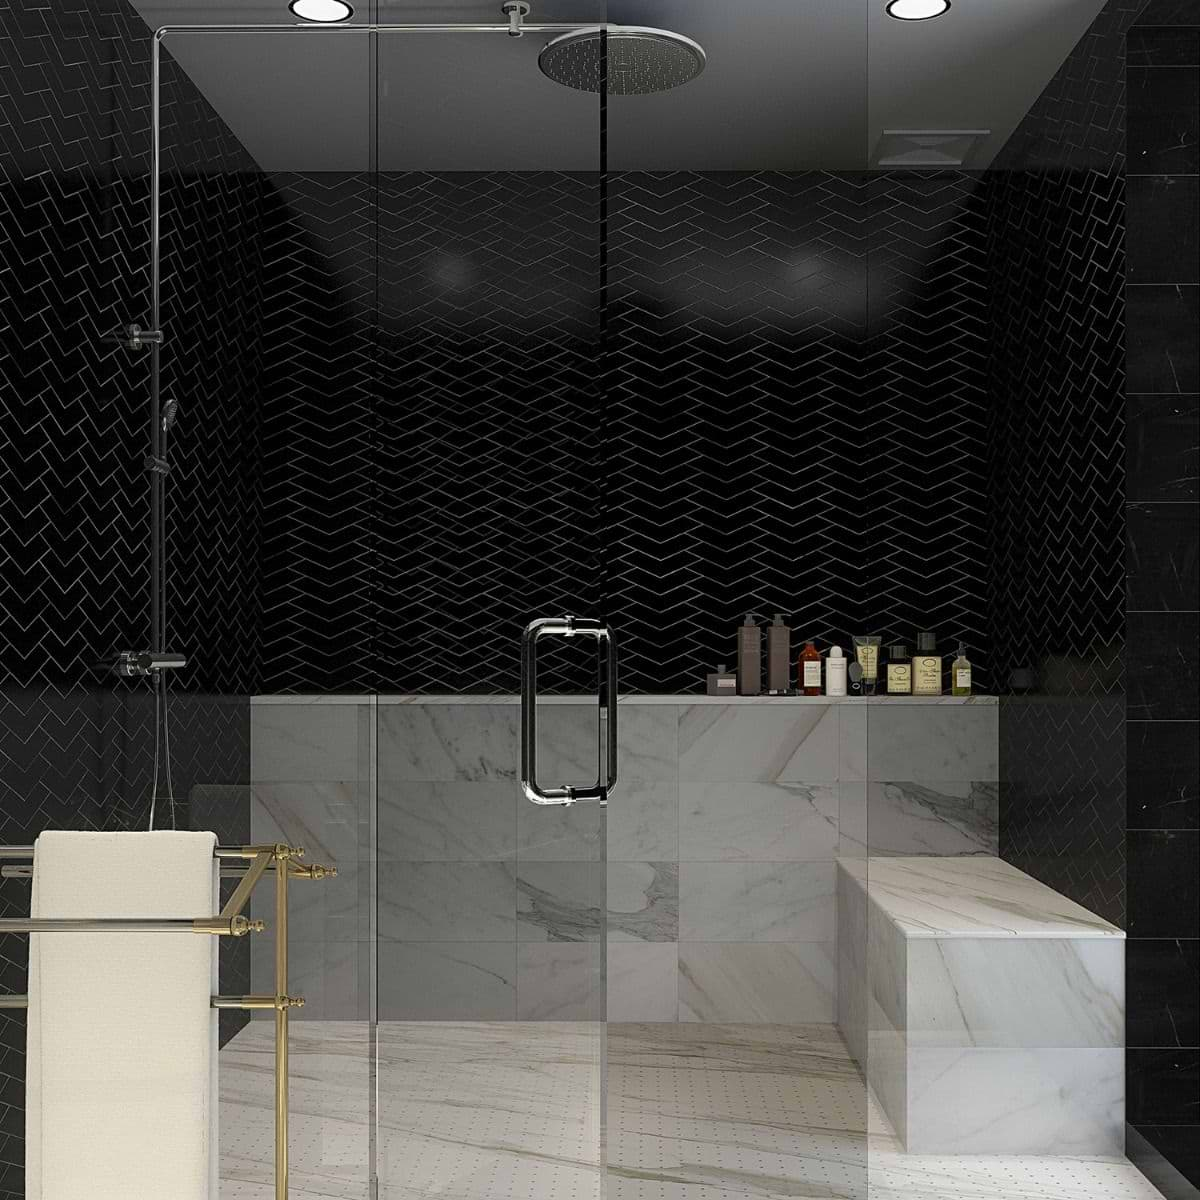
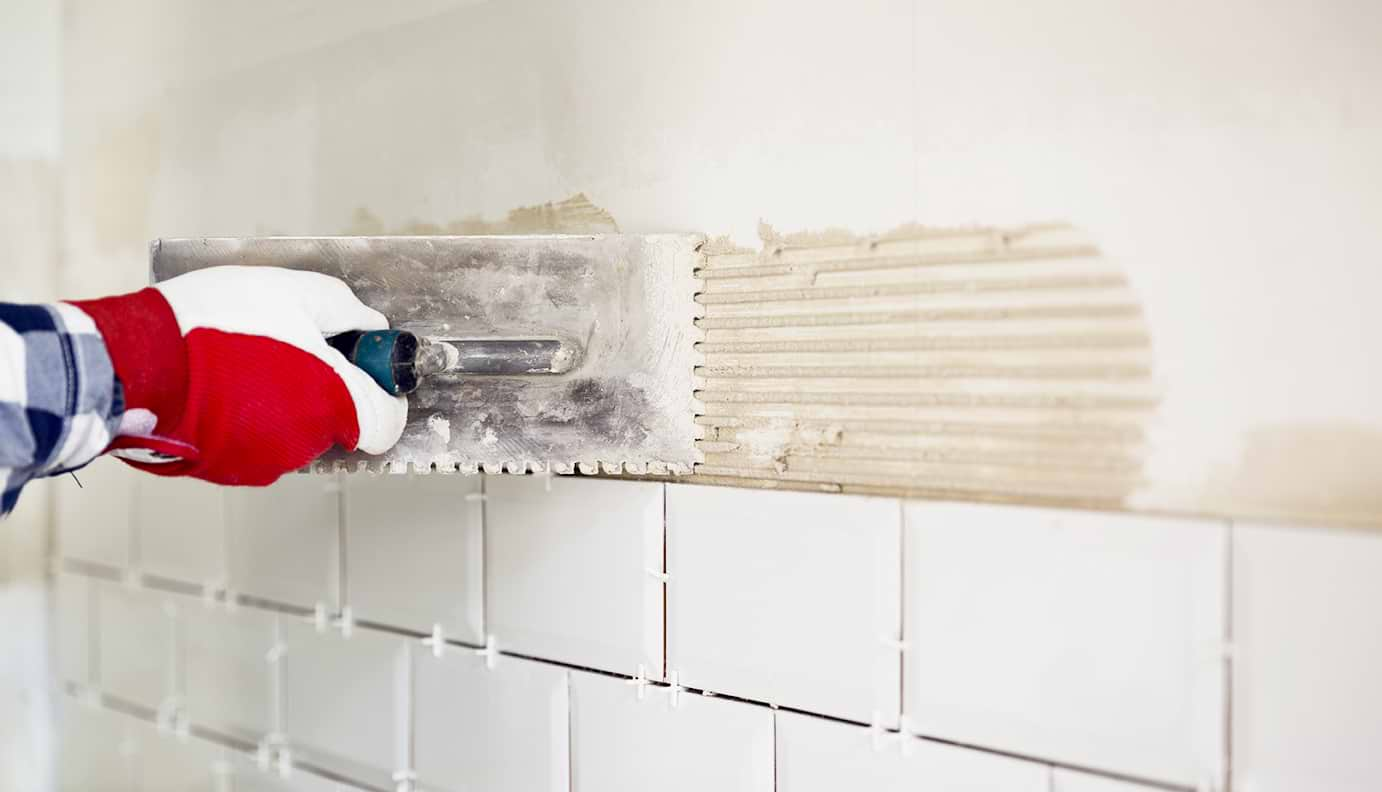
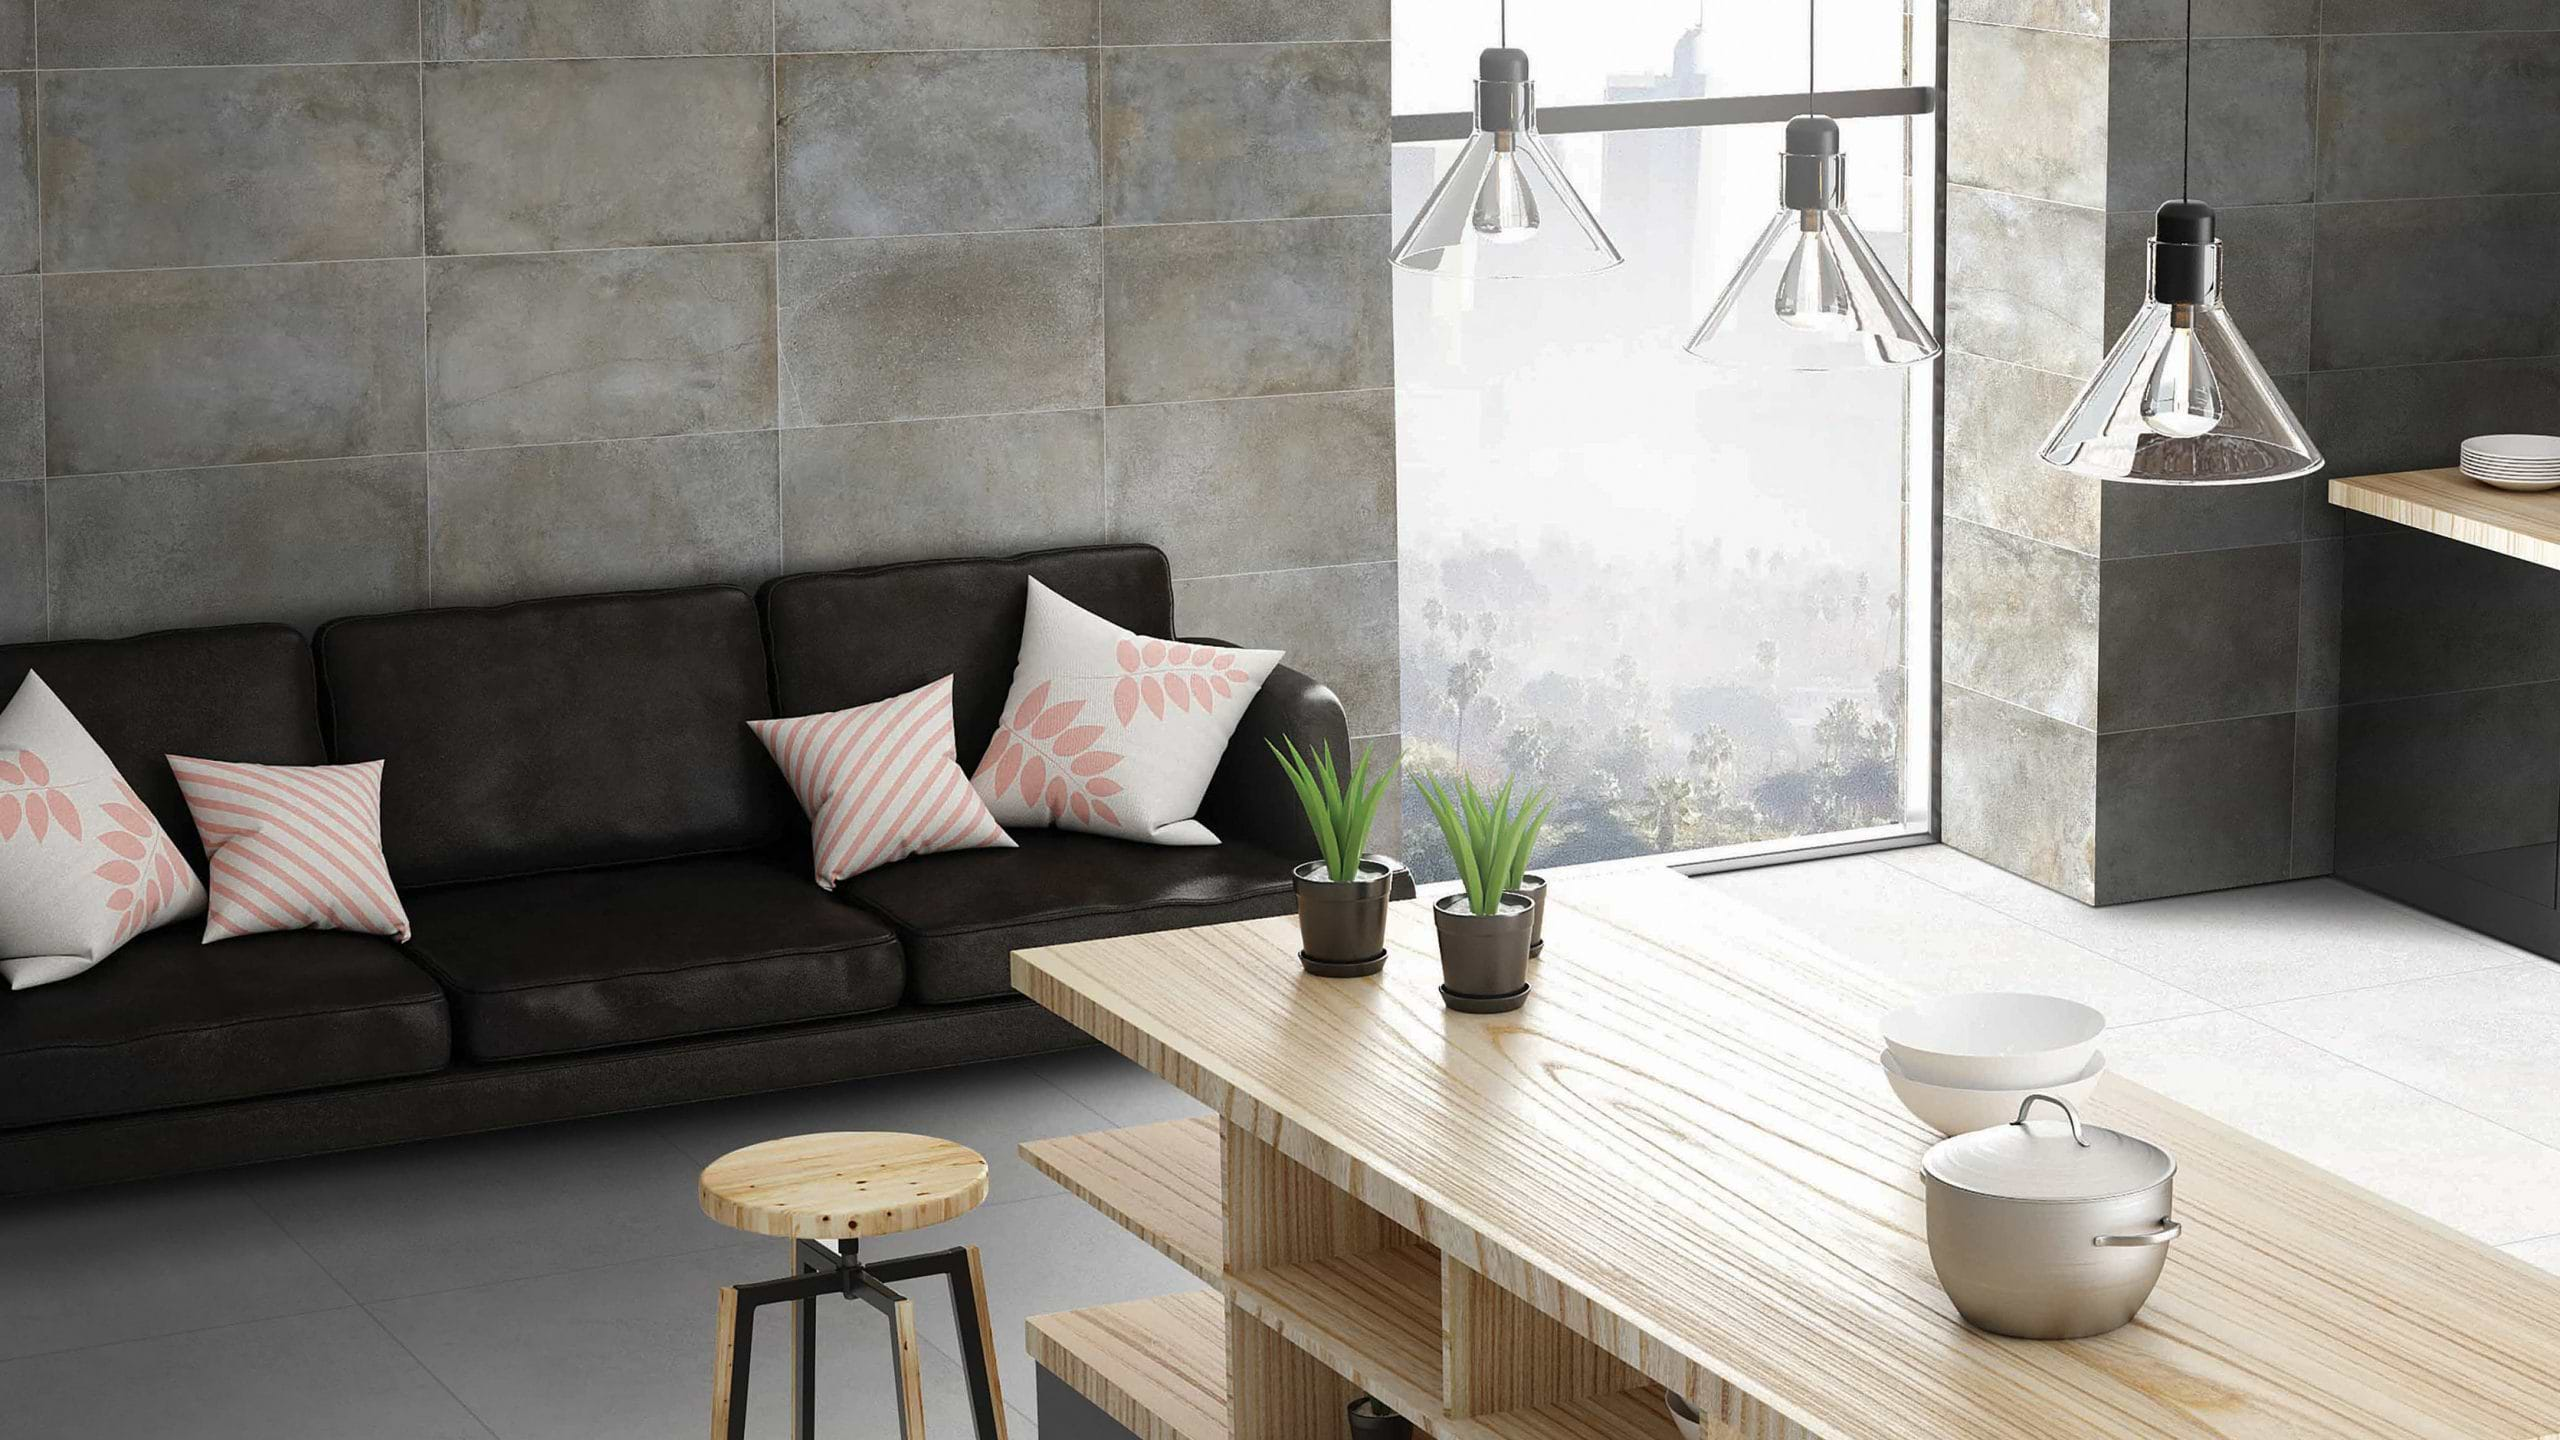
Planning on a DIY tiling project? Drilling clean holes through your tile is essential for a beautiful and professionally looking result. Whether you’re upgrading a bathroom wall or tiling an entire room – almost every tiling project requires drilling through the tiles to complete an installation. No pressure though: With a bit of preparation and a few tips and tricks, you can drill through your tile yourself and hopefully avoid cracking, breaking, or damage.
Pro Tip: It is a great idea to have extra tile on hand just in case you need practice or your first attempt doesn’t go as planned. Already-cut tile pieces left over from other cuts are also great to use for practice cutting, shaping, and drilling.
First, Understand Your Tile
The first question you should ask yourself when approaching a drilling task is what type of material is my tile? Each material requires a different treatment; the thickness, density, and strength of the material will determine the size of the drill bit you would have to use, and in some cases, the type of the drill itself.
Ceramics or marble, for example, are softer materials and are relatively easy to drill through. However, porcelain tiles are denser and harder and require more work and preparation. Some stone tiles will need a specialized drill that can penetrate hard surfaces, so your standard home drill might not be enough. If you are unsure which drill and/or drill bits to use, consult a professional tile installer or ask the tile manufacturer what they would recommend.
If you’re drilling through a tile that is already installed, make sure you know what substrate is behind it. Your tile might be easy to drill through, but if there are plumbing pipes or electrical wires behind it, it could stop your project and create damage that would be a pain to fix.
Choose the Right Tile Drill Bit
After understanding the material you are going to penetrate, it is essential to choose the correct drill bit for the job. If you’re drilling through a soft material, you can usually use a basic masonry drill bit. However, if you’re drilling through a harder material, such as porcelain, you may need to use a drill bit with a diamond coating.
Another fact to consider when preparing for your drilling job is that each drill bit can usually make 4-6 holes before becoming too dull to effectively penetrate. Holes will get progressively harder to drill as you go until eventually they will stop working altogether. If your project requires many holes, make sure you have enough bits to finish it.
Pro tip: Before starting to drill, take a few minutes to cool down your drill bits. You can use a spray bottle or just put your bits in a cup of cool water to chill them in preparation (but bits only! Keep your drill away from water). Cool drill bits last longer, make more precise cuts, and keep things moving.
Measure, Practice, Drill
As with any job that requires precision, measure twice and drill once. Before you start the drilling, double-check your measurements because you only have one chance to make a hole.
If you’re less confident about your ability to be precise with the drill, it’s a good idea to practice a few holes on a similar surface, or an extra tile piece that you are not using in your project. If you’re using a diamond core bit or drilling at an angle, make sure you’re doing it with a drill guide to keep your drill from wandering and provide an accurate and clean result.
Pro tip: If you place a painter’s tape where you’re going to drill, it will help hold the drill in place and create a cleaner cut through the face of the tile.
Take It Slow
Drilling a piece of tile will require some patience. Tiles are usually made of dense materials, and as mentioned above, some tiles are denser and harder than others. High-grade porcelain tile can take several minutes to drill through, while a soft marble tile may not take very long. If you rush through the process, it may break or crack your tile. Let the drill bit do the work.
Different manufacturers require different drilling speeds. You will have to make sure that your drill can meet the speed recommendation of the manufacturer, so the drilling is easy and safe.
Pro tip: Avoid using a hammer drill. Any tile that is being drilled in place could be subject to cracking if too much force is being applied, or if the mortar coverage is not up to standard.
When in Doubt, Ask a Professional
As we mentioned above, if you are unsure of which drill or drill bit to use, consult a professional tile installer. They can help assess your situation and figure out what is best, especially if you are attempting to drill into a tile that has already been installed.
Related Articles
Choosing the Right Grout
 Pinterest
Find Your Perfect Grout Match! Color, Texture & Choosing for Your Tile.
OTHER PRODUCTS USED:
Explore Our
Tilefinder