Visit
Visit 
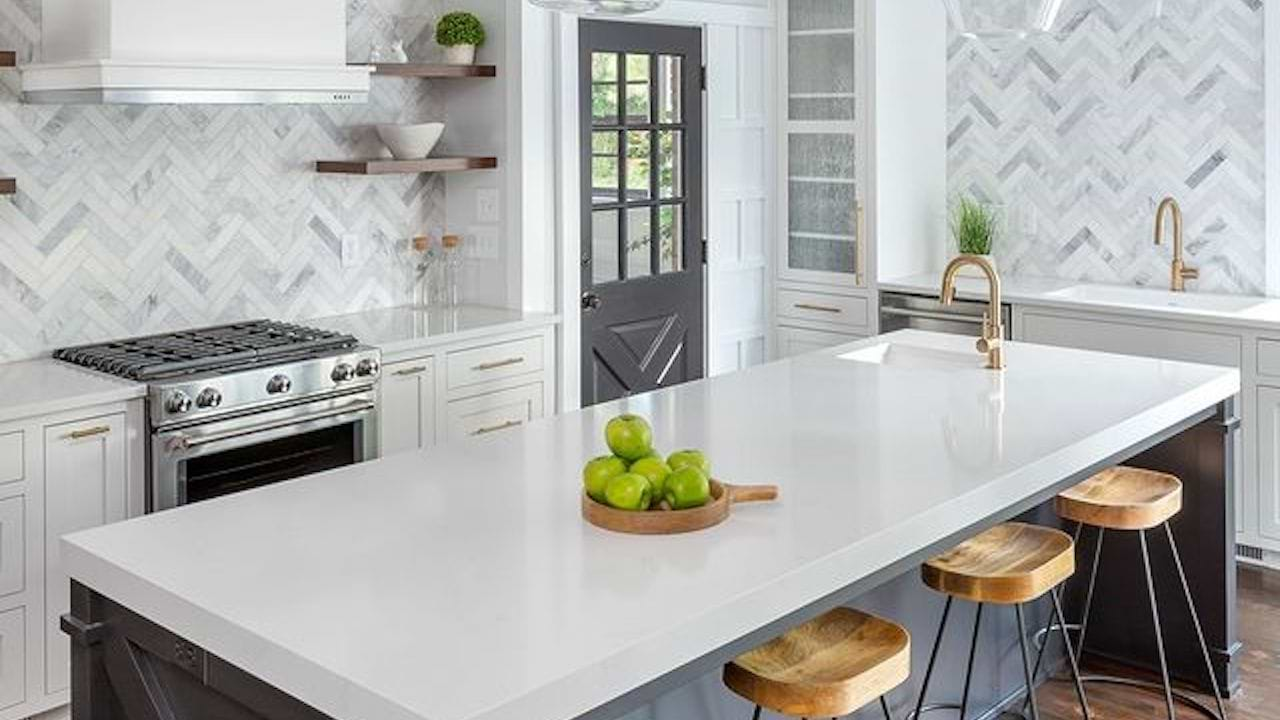
Ready to Update Your Kitchen Backsplash? Here’s How to Do It Yourself
 Copy Link
 Email
Email
 Twitter
 Pinterest
 Instagram
 Facebook
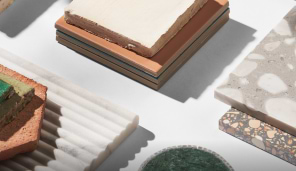
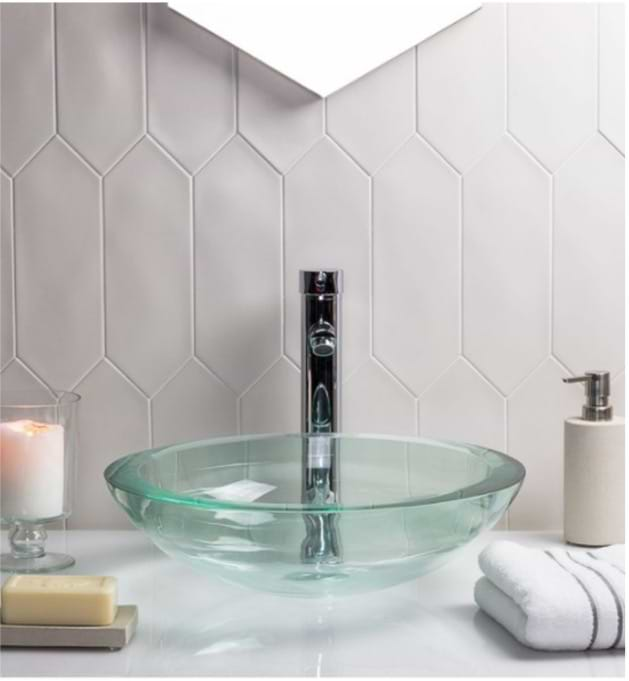
Ready for a new backsplash? Adding kitchen backsplash tile is simpler than you think and you can do it yourself in just a few days! Backsplashes are a great first tile project and an easy way to update your kitchen without the major cost of new cabinets or appliances. This upgrade to your space can add the perfect pop of color or help give some style to an otherwise drab kitchen, and, since you know exactly where you should be tiling – usually the counter on the bottom and the cabinet on top – all you have to do is pick your perfect tile and get to planning.
First Things First: Remove Your Previous Backsplash
Do you already have a tile or granite backsplash that HAS to go? Before you start tiling, you will need to remove the previous backsplash and prepare a fresh surface for your new tile. When removing the tile, the board behind it will probably need to be removed as well, so that you you will most likely remove everything but the wall structure beyond. That is okay! It is best to start with a structurally sound and flat substrate when tiling your new backsplash, and it is actually much easier to start fresh with new tile backer board than try to clean and reuse the old stuff.
It is useful to remember that the removal of an existing backsplash is the messiest part of the process, but can also be the most fun. Just remember to protect your existing counters, cabinets, floors, and other surfaces and items around your project area so that you aren’t fixing more than just your tile. A little tape and craft paper will go a long way and save you from any unexpected accidents. Oh, and don’t forget to protect yourself as well! Construction is fun but make sure that you wear the proper protective gear and follow any instructions when using tools and other equipment.
Installing Your Backsplash: Step by Step
- Before you start working: plan your tile pattern. Lay your tile out on the floor or on a COVERED counter. Decide where you would like your cuts to be located and make sure that you have enough tile to cover your area and have some extra on hand, just in case!
- An important part of your tile plan will be how you treat the edges your tile pattern if doesn’t die into an adjacent wall or cabinet. While some tiles have coordinating accessories like bullnose or pencil trims, many do not. This is not an issue, however, thanks to a number of extruded metal trim pieces that coordinate with almost any tile in both finish and depth.
- Once you have your pattern and trim pieces figured out, go ahead and make any cuts you may need before mixing any mortar or installing any tile. Make sure to use the proper saw and blade for your tile type to ensure straight and clean cuts.
TileBar Tip: Don’t forget those pesky electrical sockets or switches when cutting your tile. They may require cutting by hand, but take your time and remember that these edges will be covered by switch plates.

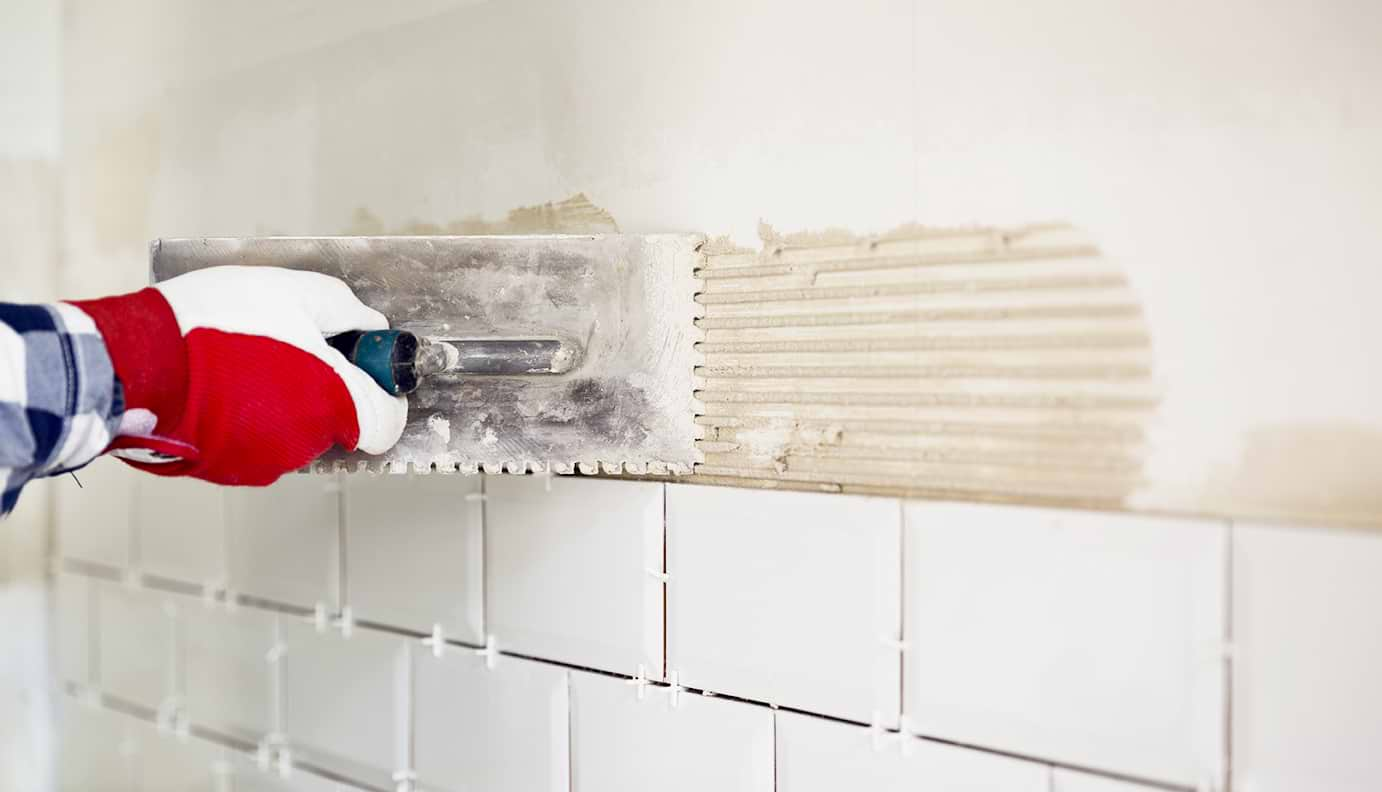
- Now that your tile is ready to go, it is time to mix your mortar. The keys to a successful tile installation are following the mixing instructions exactly, using the proper mortar for your tile, and using the proper trowel. FYI – The trowel size is determined by the size and type of your tile. If you’re unsure, ask a professonal tile installer.
- Spread the mortar on your substrate, and maybe even your tile, using the proper trowel technique. Proper mortar coverage is key, so take your time and make sure that your tile is bedded completely in the mortar.
- As you lay your tiles and trim, use spacers, wedges or a leveling system to help keep your joints consistent. Your tile type and size will determine what size of grout joint will be required to look the best.
- When you have all of your tile in place, let it cure overnight. You’ve worked hard and need rest! But don’t worry, TOMORROW will be time for grout!
The Finishing Touch: Grouting Your Tile
- The following day after laying your tile and it has had a chance to cure, remove your spacers and clean your joints from any mortar that may have squeezed through.
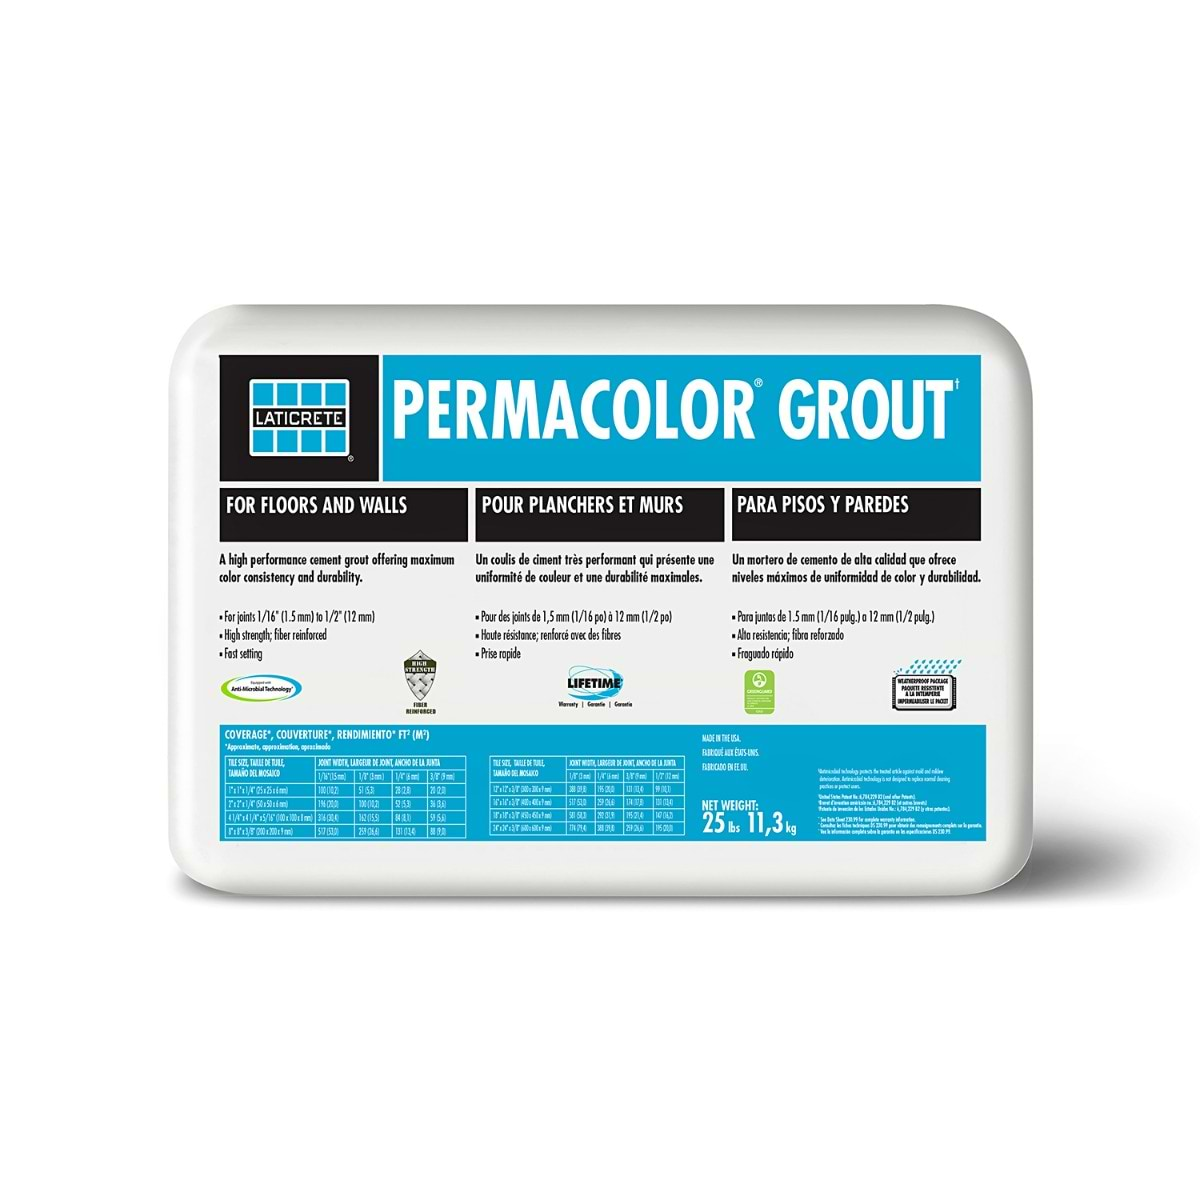
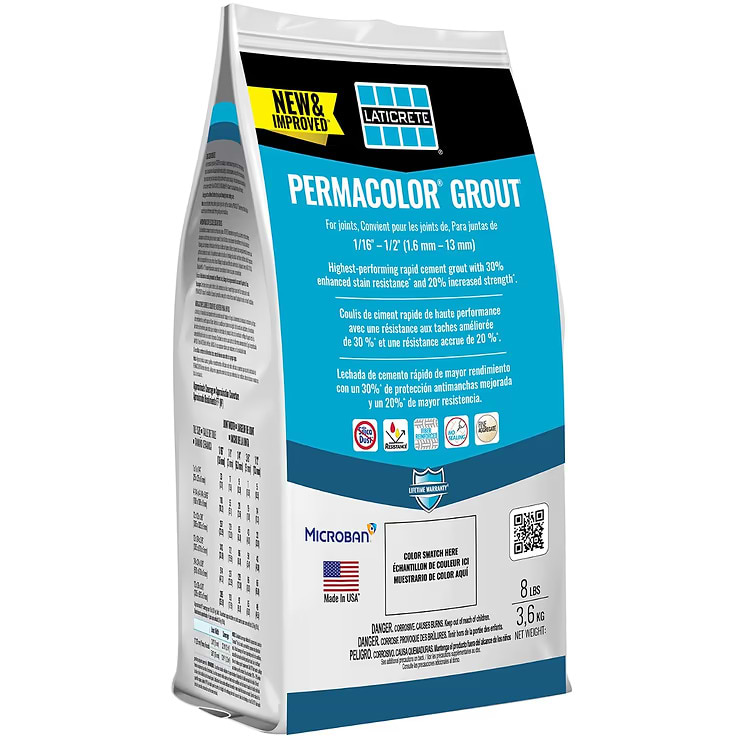
- Time to grout! Take your time and follow all material directions. Just like your mortar, it is important to follow mixing instructions exactly. A white scrub pad and A LOT of clean water are your friends during this process. TileBar Tip: If you’re using a porous tile or a sensitive stone you may want to use a grout release. Grout release can make cleanup a lot easier.
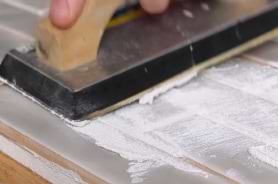
- After you finish pushing the grout in and filling the joints completely, remove the extra grout off the face of the tile. Use the float at a 90 degree angle to clean off the exccess grout by pulling it diagonally across the joints. This will remove the majority of the excess.
- After a haze begins to form grab a white scrub pad with clean water and use in a circular motion. Rinse often, WITH CLEAN WATER. When the water is the color of your grout, CHANGE IT. It will save you from a heavy haze later.
- Do a final wipe down to clean up and you are done! Allow your grout to cure overnight and then you can install any switchplates for the final finished look. Whew!
With planning and a little patience, a kitchen backsplash is definitely on the D-I-Y list of projects. But why stop there? Now that you know how to tile, you can easily use these same steps to tackle your bathroom backsplash, bar, fireplace, laundry, or any other space that needs the unique and durable surface of tile. You may not have the convenience of a counter to start on, or cabinets to stop you, but that just means you have a bigger area to show off your design. Select your favorite tile and get started!
Related Articles
 Pinterest

Explore Our
Tilefinder