Visit
Visit 
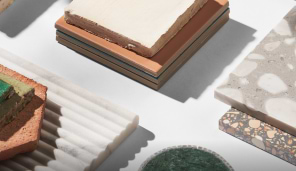
Tile Cleaning and Maintenance Guide
 Copy Link
 Email
Email
 Twitter
 Pinterest
 Instagram
 Facebook
So you bought some floor tiles for your home. Up until now, it’s been great. It’s done its job at making sure that spills didn’t get too unruly, that pet hair didn’t spend too long lingering about, and that any dust bunnies that came to be, quickly perished at your hand. All has been well, and you’re happy that you welcomed a lower maintenance flooring option into your home.
But recently, you’ve started to notice something happen…Your tiles don’t sparkle the way they used to. The grout which was once a certain pigment, is eh, not really that pigment anymore. And what’s that?! A light film coating your tile? Gasp!
Hold your small freak-out. These occurrences are normal. Just like any other area of your home, tiles require upkeep. For instance, you wouldn’t leave your fridge unattended to for a year, would you? Or your deck not power-washed each season? Tile needs the same love.
The signs that you started to notice are of tile that is need of a good scrubbing. Though, not just a wipe-of-the-Swiffer and call-it-a-day scrubbing. A legitimate cleaning session to make it sparkle again, and have grout lines do what they were born to do–define your design.
Scratching your head on how to do that? A little stressed even thinking about the task at hand? Heartbeat steadily increasing as you read about needing to dedicate more than 2 minutes of cleaning towards your tile?
Don’t fret. We have your back. We have the secret sauce, so-to-speak, to make that tile like new again, while keeping your stress levels minimal. This way, you don’t have to freak out and can get down to cleaning like a pro.
Here’s how to do just that.
How-To Clean Tile Floors
Step 1: Vacuum Dirt and Debris
The most basic step will be the one you’re most familiar with. It’s just a general cleaning of the tile to prep it for the larger task-at-hand ahead. Take a vacuum and clear off any hair, dust, or dirt that is on the surface level of it. This will help you get rid of any initial nasties that will make the scrubbing less pleasant for you.
Step 2: Mop the Floors
After the tile has been swiped clean of the usual day-to-day bandits, it’s now time to grab your mop. Fill a bucket with water and a squeeze of soap. Then, go ahead and get your mop on.
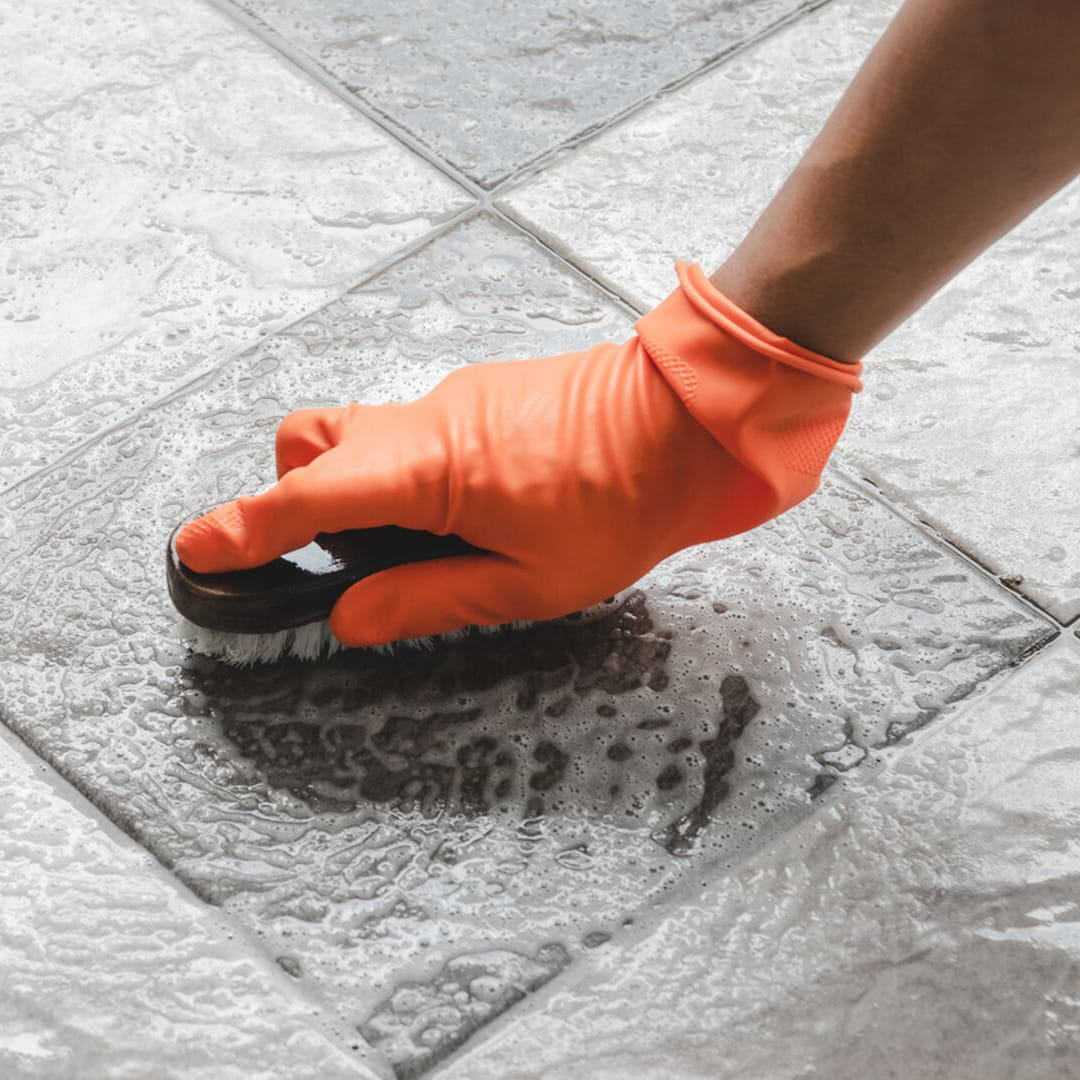
Step 3: Spot Clean
Tough stains? For this you’ll want to spot clean. In order to do that, make a cleaning paste. That means mixing together one part baking soda and one part water. Grab a soft brush, and scrub it away. Then, using warm water and a washcloth, remove the paste from the floor.
It should be noted that you should never leave spills on the floor, this is how your floor will stain. So to prevent this additional cleaning step in the future, be on top of your spills!
Step 4: Hand Dry
Get a cloth and hand dry the floor tiles. This ensures that there won’t be a soapy residue or film on the tiles post-cleaning.
Step 5: Enjoy Clean Floors
Enjoy your gorgeous, like-new tiles!
How-To Clean Other Tile Types
While we just went over general cleaning tips for tile, namely those of ceramic or porcelain body, there‘s some specific know-how’s for other types of tile. Below we outline what those are for the other two very popular tiles, glass and natural stone.
How-to Clean Natural Stone Tile
Marble Floors
To keep your large marble floors beautiful and timeless, it’s important to maintain them just like any other tile. For this one, you’ll want to dust-mop your floors weekly as a preventive measure. When it comes time to perform a deeper clean, use a biodegradable liquid dish-washing soap that’s phosphate-free. These soap-less solutions will alleviate streaks from occurring. Make sure to dry thoroughly.
It should be noted that when cleaning marble tile, you should never use anything acidic-based since it will eat away at the natural stone and leave it with etch marks. Yikes!
Learn even more ways to preserve the beauty of natural stone tiles here.
Glass and Glass Mosaic Tile
When it comes to cleaning glass, you want to make sure that you don’t end up scratching the surface. To avoid doing that, work with cleaners that aren’t abrasive and don’t have a paste-texture like baking soda.
The best bet is using a solution of half water and half vinegar combined in a spray bottle. You’ll want to spray the solution onto your tile, let it sit for 10 minutes, and then wipe it clean. If there’s a lot of yuck, use a soft brush to scrub and combat it!
What About Those Other Tiled Areas In Your Home?

We’re talking backsplashes, and shower tiles.
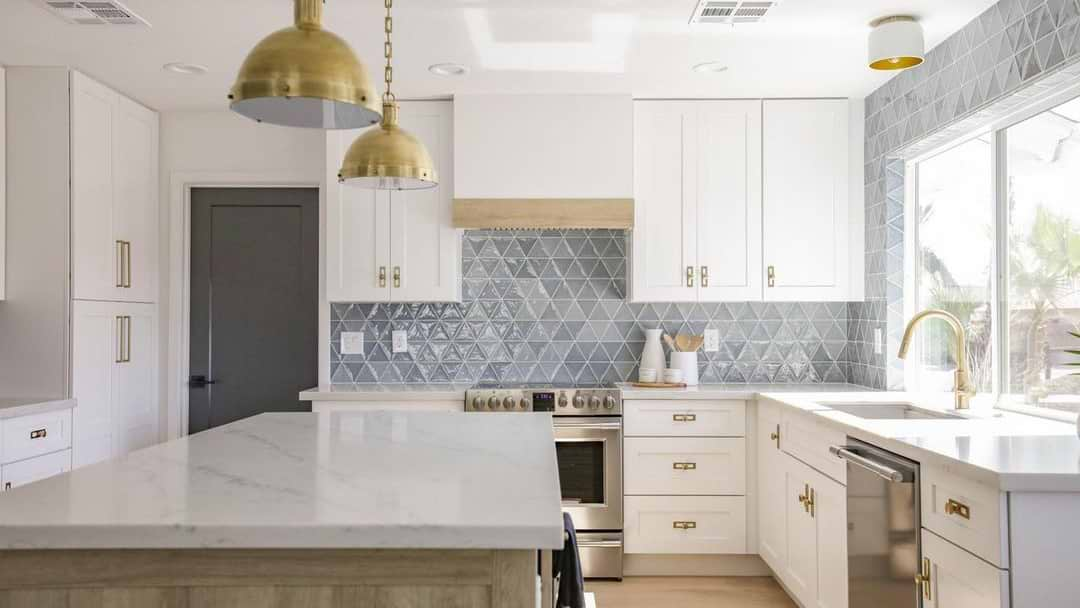
Cleaning Backsplash
Your backsplash is the centerpiece of your kitchen or bathroom; yet, it also happens to be victim of well, splashes from cooking or getting ready. To help maintain a shiny, like-new appearance, you’ll want to keep it clean with regular cleaning sessions. If you don’t, then your backsplash will start to look dirty and age the rest of your design.
So, to make sure that the latter doesn’t happen, here’s what you should do to maintain the sparkle. Just like all other tile, you should create a cleaning solvent with soap and water. For this, you can place in a spray bottle, apply, and wipe clean. For grease-oriented spots, you will want to use a paste solution that consists of one part baking soda and one part water. Apply to the stain, move in circular motion and then wipe away.
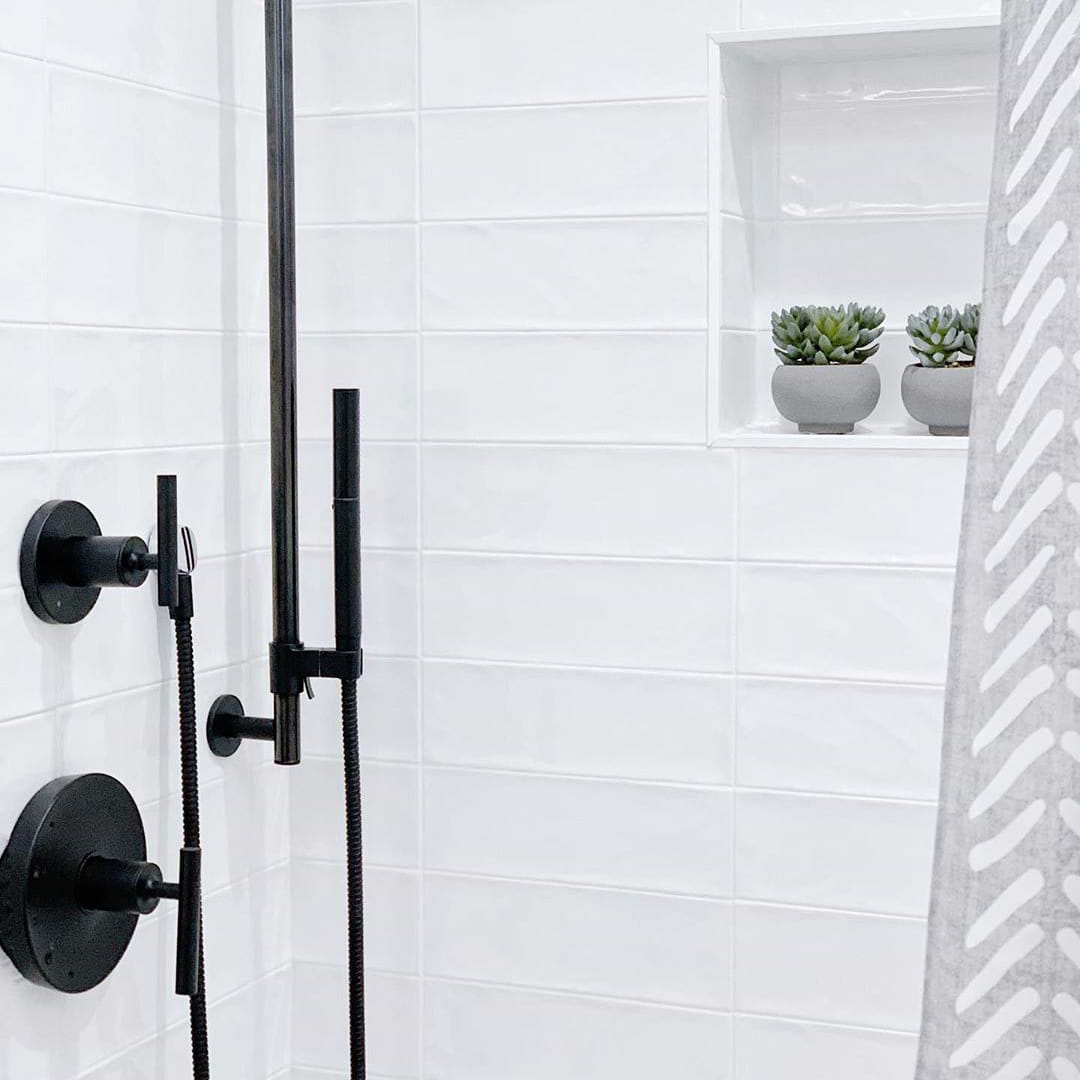
Cleaning Shower Tiles
Having a clean shower is not only hygienic but important to keep up appearances. That’s why its super important to be on top of your cleaning game in a place that you’re in daily, cleaning yourself.
Luckily, it doesn’t take much to make sure that things remain beautiful and sparkly. Just like most other tile cleaning tactics mentioned, you just need one part vinegar and one part water mixed in a spray bottle. After you spray, apply, scrub with a sponge and wipe off.
Tile Cleaning Products 101
- Acidic Based: Probably one of the most common types of cleaner, the acidic based are highly effective at keeping things up to par. They work by reacting with the cement in the grout to remove dirt. This means removing a layer on top to reveal clean grout below. This is especially useful for white grout lines that have stained. Aside from this, it can remove grime that has accumulated on the surface of your tile — i,e; in a bathroom. Please note: This type of cleaner should only be used on porcelain tile,and never on natural stone as it can eat away at the tile material itself.
- Alkaline Based: This type of product reacts with dirt, and grease to remove excess organic matter that is keeping your tile from being clean. It is high in pH levels, about 12 or above. Please note: Even though it is the most basic on this list, it is still important to practice proper safety measures. Wear goggles, and gloves when handling any cleaning material. If it gets in the eyes or on the hands, wash right away.
- pH Neutral: One of the least effective on the list for heavy duty cleaning, pH neutral is a great option for day-to-day, light maintenance. They work best diluted in water and to help keep tile looking nice. That aside, a major advantage of this type, is that it won’t break down any sealants in the tile or the grout colorant as can be the case with the more aggressive types listed.
Properly Maintaining Tiles
As mentioned in many ways above, it is important to maintain a cleaning schedule weekly for your tiles. This means mopping, or spraying and scrubbing. Always be on top of spills too, to avoid them sitting too long and therefore leading to staining. It’s easier to wipe a spill away than to scrub a stain away!
That’s all folks! Comment below and let us know if you have any ideas of your own for keeping tile beautiful!
Ready to dive in and keep those tiles beautiful? Shop our cleaning products today!
Related Articles


Explore Our
Tilefinder