Visit
Visit 
How To Install Shower Tile
 Copy Link
 Email
Email
 Twitter
 Pinterest
 Instagram
 Facebook
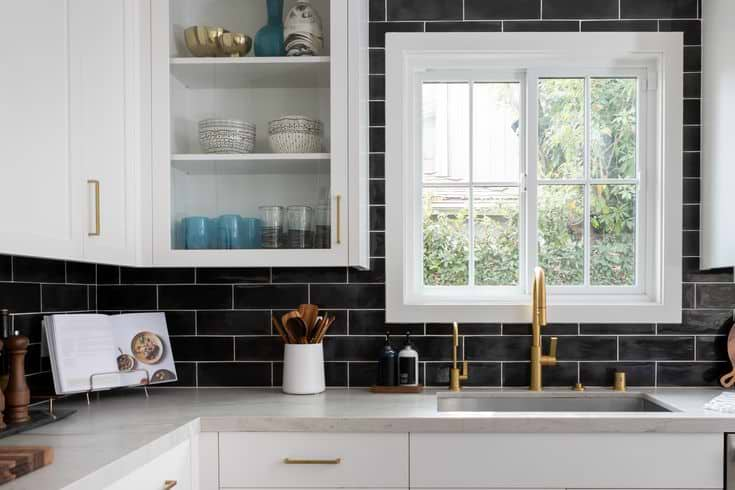
The moment has come! All of your planning and preparations are paying off and you finally have a beautifully smooth and waterproof wall on which to install the tile that you love. Let’s see what it takes to make that happen.
If you haven’t read our article on how to tile a shower then you might want to read that first.
Have the Right Tools
Make sure that you have all of the tools you need before you get started so that you don’t have to stop at a crucial point in the process. These usually include proper trowels, sponges, bucket, mixing drill and paddle, grout spacers, grout float, and a levelling system –Tile Leveling Adjustment Tools – Easy Tile Leveling – Spin Tile Leveling (barwalt.com). This innovation can assure that you have a nice and uniform installation, and who doesn’t want that?
- Create a Tile Cutting Plan
You need another plan – a tile cutting plan. It is best to know every cut that you will have to make ahead of time to not only have enough material but to also let you fully plan for your pattern and where you want it to be placed.
- Start Where It Makes Sense
Start laying tile where your pattern matters the most. If you want to center a pattern or align with an important feature, start with these areas and work around them. It is better to rework the edges of a wall rather than your favorite detail. You can also choose to work on the shower wall tile or floor tile, depending on your pattern.
- Mix Your Thinset
Thinset is a mixture of cement and sand that you will combine with water in a bucket and then mix using a mixing drill with a long paddle attachment. You must follow the instructions so that you get the right consistency for your tiles to stick properly!
- Attach Your Tiles
Use your trowel to apply thinset to your wall or floor as recommended by your tile installation instructions. Installation videos may make this part look easy, but it will take a few tiles before you can really get the hang of this art form. Work quickly and precisely to place your tile, using spacers to create uniform grout lines, knowing that you have a short window to move the tiles into their final place.
- Check Your Work
Once you have all of your tiles in place, make sure to clean off any thinset on the tile faces or clear out any thinset that would get in the way of your grout. While you can remove it later, it is so much easier before it hardens!
- Let the Thinset Dry
It is time to wait for the thinset to dry according to the manufacturer’s instructions, which is usually 24 hours. It is a great time to be dreaming about how fabulous your new shower will look, or what you want to tile next!
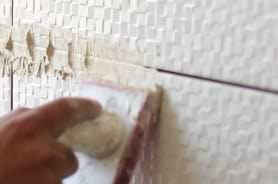
- Time for Grout
Prepare your grout as recommended by the manufacturer in small batches and use a grout float to push it between the tiles in a diagonal motion. You can then wipe it with a clean, wet sponge after about ten minutes to remove any extra from the tile face and even out your grout joints. A quick note on this: Don’t put grout in any vertical corners or transitions at niches, seats, or accessories.
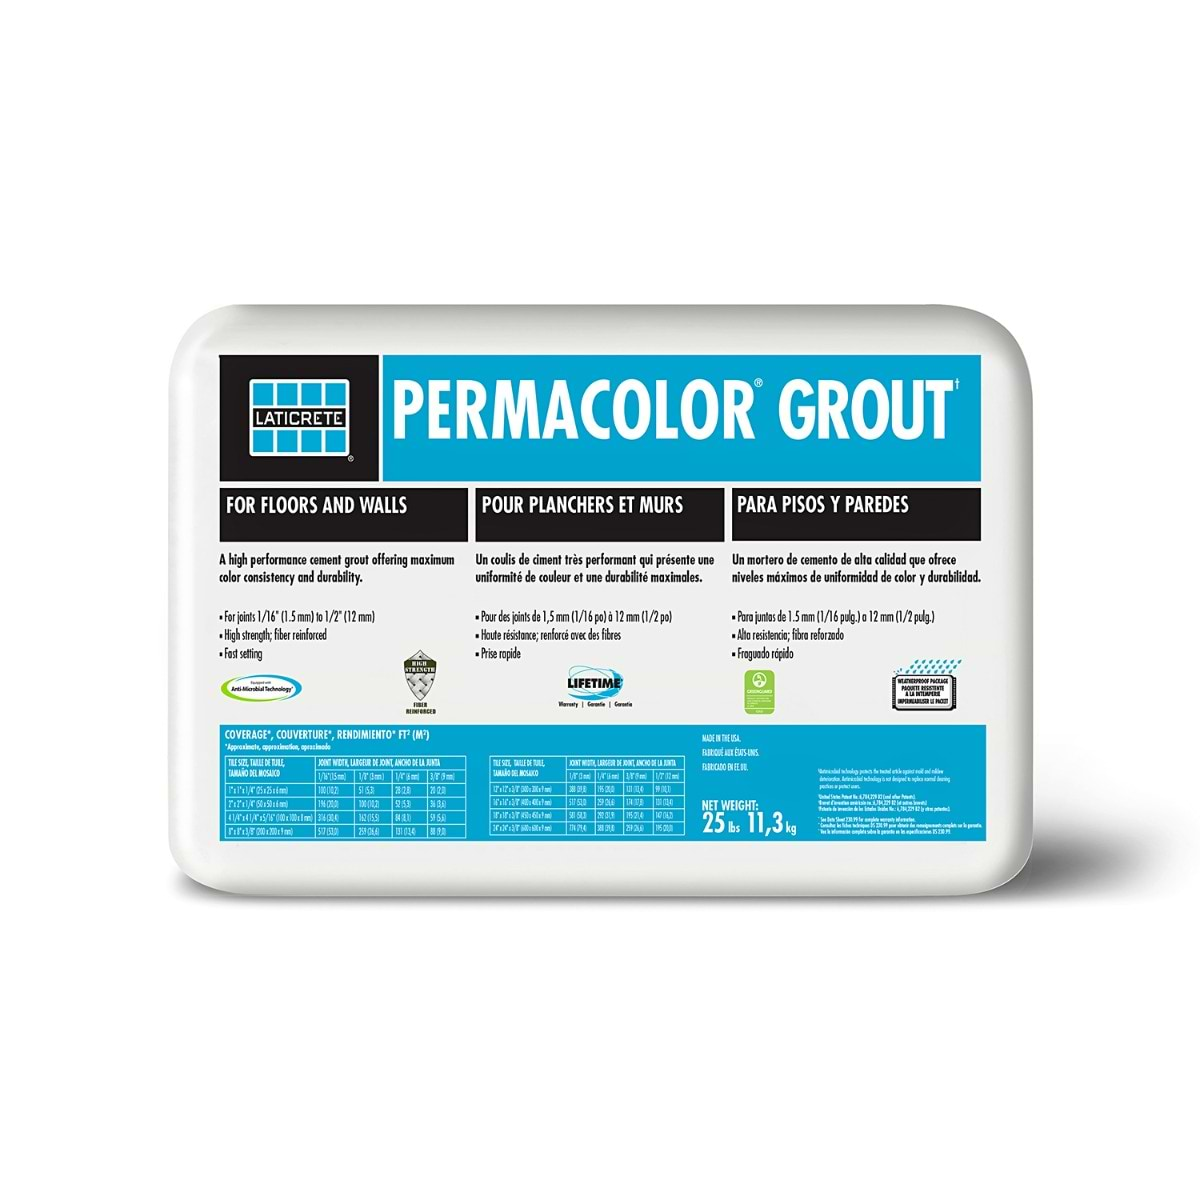
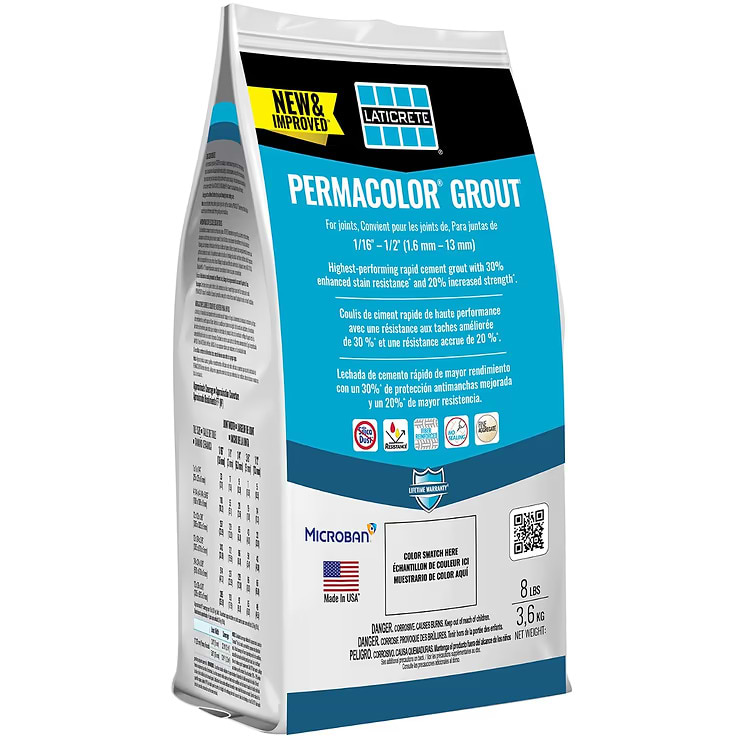
- A note on Grout
Grout may seem like an afterthought in the tiling process, but it plays an important role in both how your finished tile will look and perform. Along with color, there are also many types of grout to choose from with the two most popular being sanded grout, which is typically stronger and is used with tiles that have a more durable finish, and non-sanded grout which doesn’t scratch glass or special finishes on tile. There are also several speciality grouts available to help with maintenance, cleanability and or other needs. Check out Laticrete’s Grout options that can help you select the right product for your project, and also browse TileBar’s extensive selection collection of grout solutions to have your tile installation looking great and performing even better.
- And Don’t Forget the Caulking
Did you know that movement happens with tile installations? Your walls and the tile material itself can expand and contract so it is important to leave vertical joints and any transitions at niches, seats, and accessories free of grout so that color-matching caulk can be installed, like Latasil Silicone Sealant | Laticrete. This can help prevent the tile or grout which you can learn more about in the article Why Tile Grout Cracks.
Learn How to Tile a Shower.
Related Articles


Choosing the Right Grout
 Pinterest
Find Your Perfect Grout Match! Color, Texture & Choosing for Your Tile.
OTHER PRODUCTS USED:
Explore Our
Tilefinder