Visit
Visit 
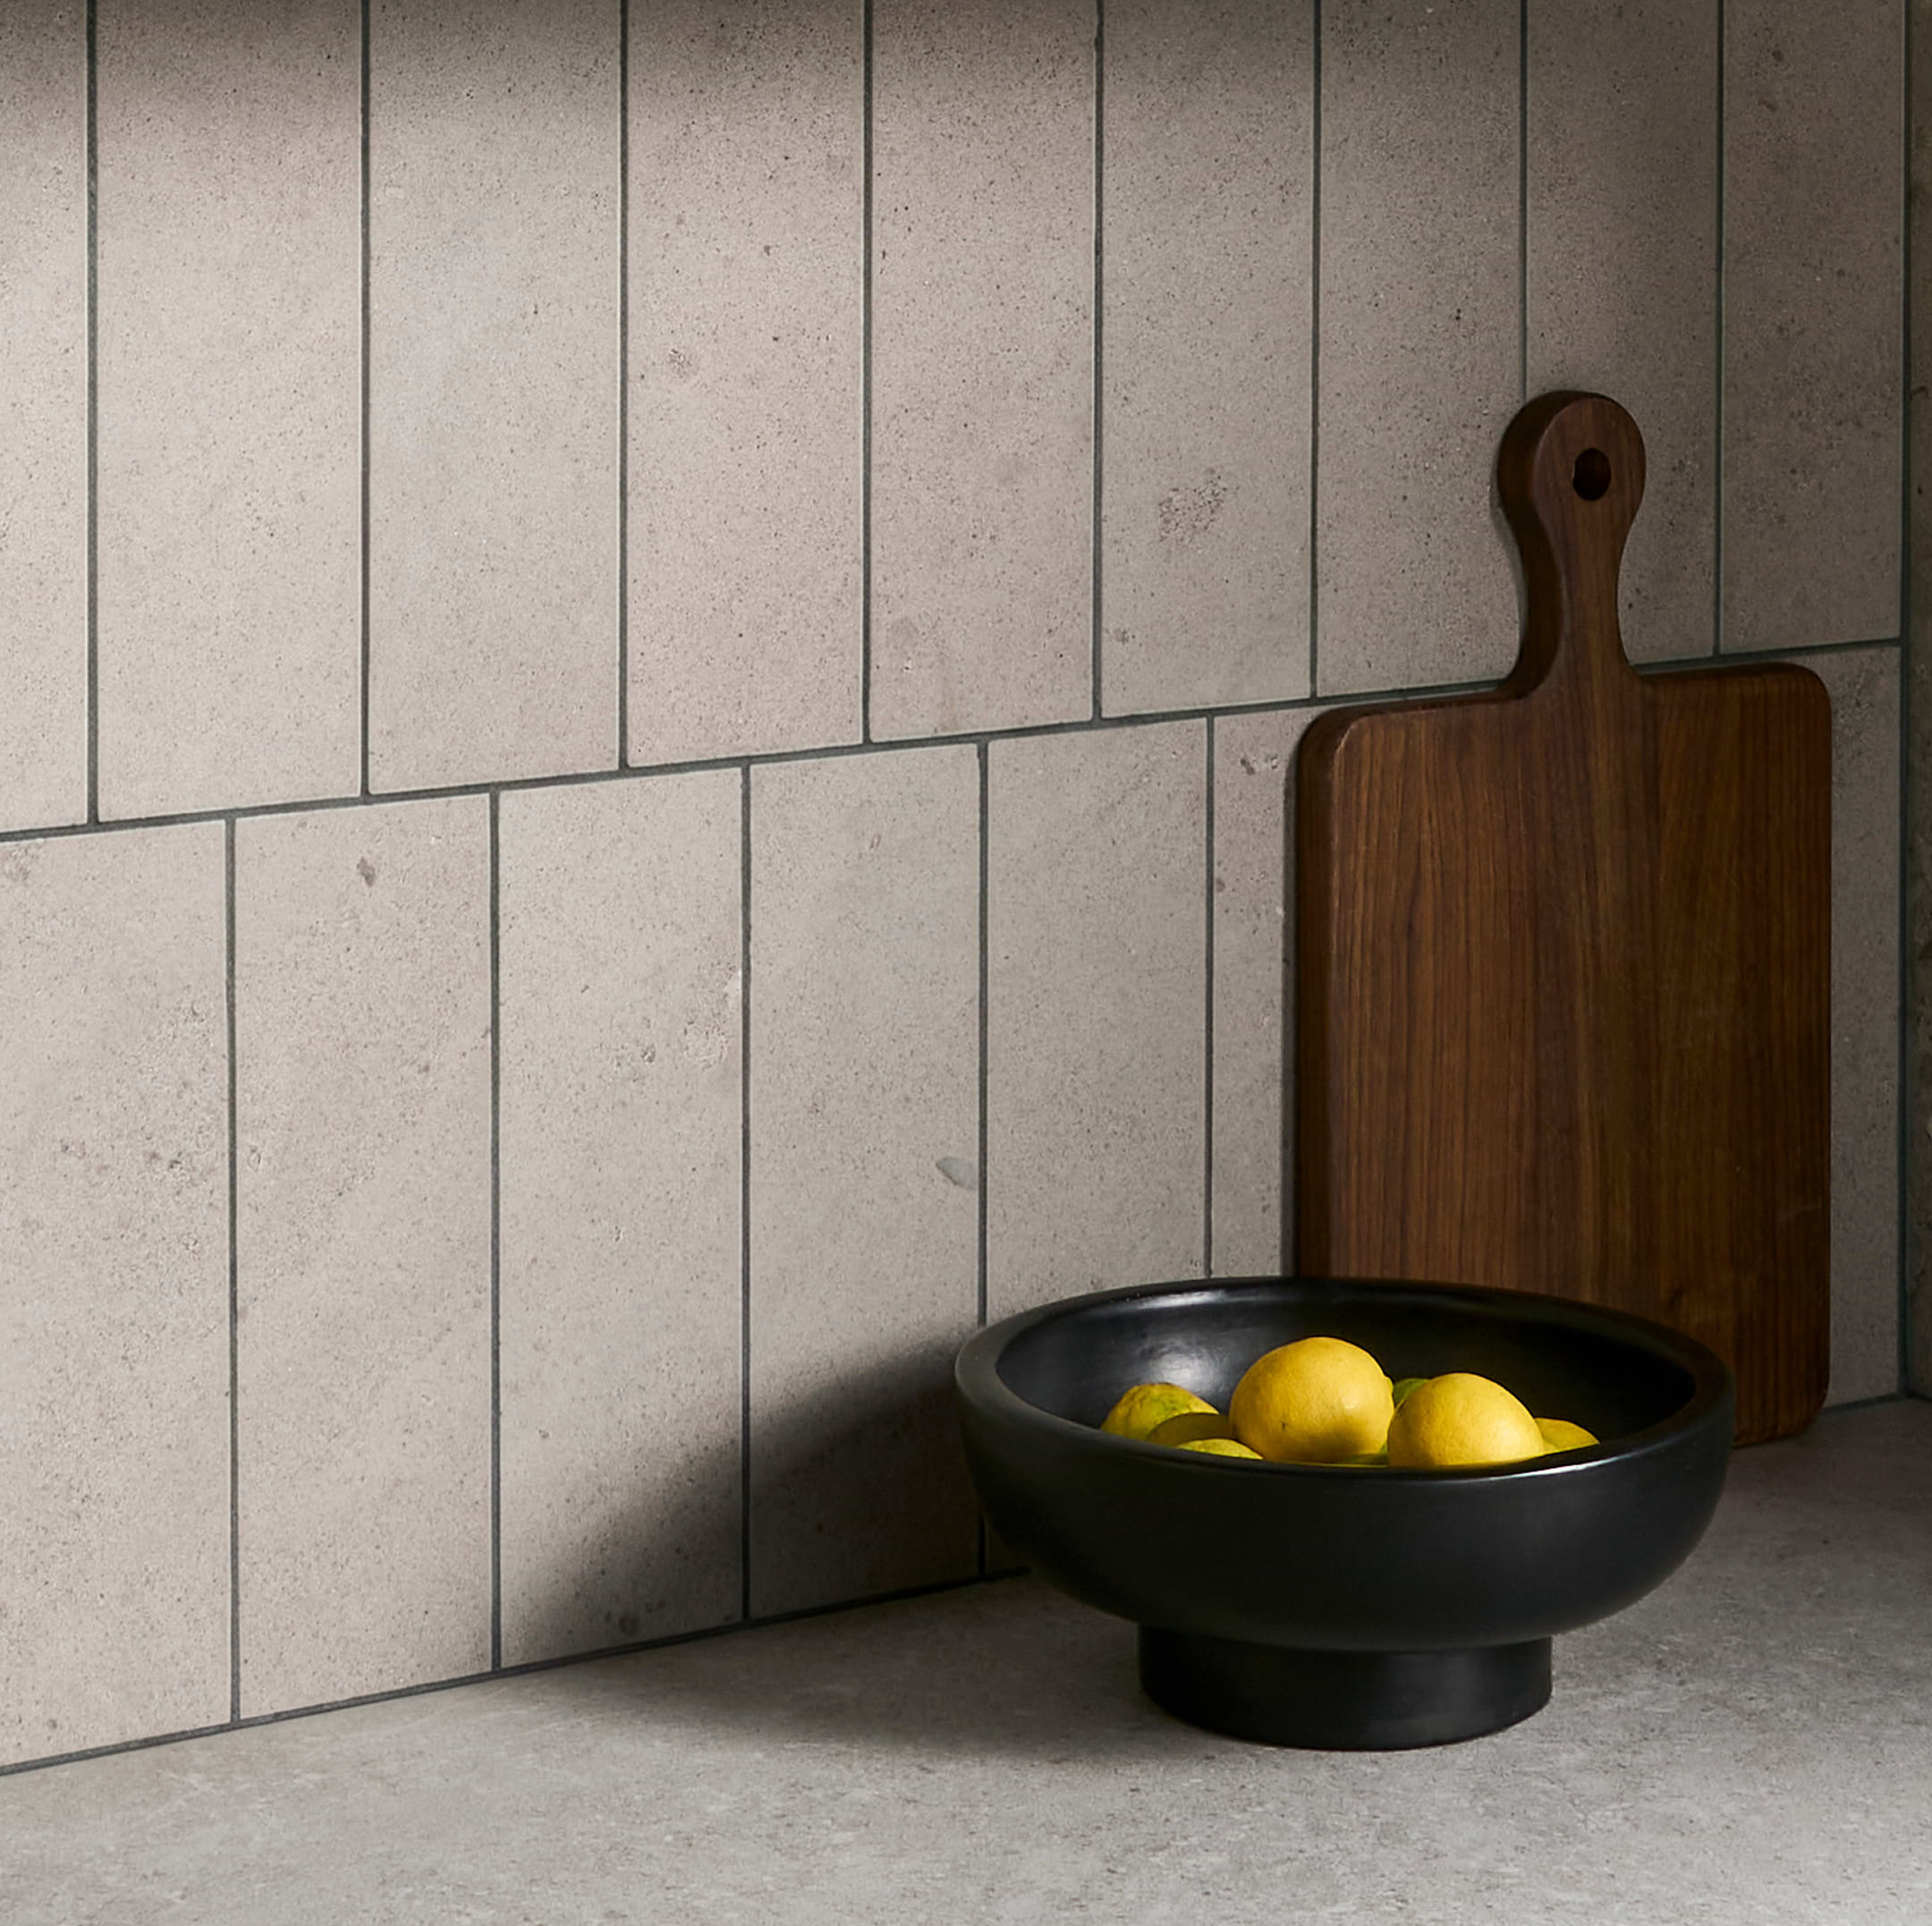
Why Tile Grout Cracks: Causes & Solutions
 Copy Link
 Email
Email
 Twitter
 Pinterest
 Instagram
 Facebook
Tile grout is designed to do more than fill the spaces between tiles—it stabilizes the installation, protects against moisture, and completes the overall look. When grout begins to crack, it’s often a signal that something beneath the surface isn’t working as it should. This guide breaks down why tile grout cracks, what those cracks are really telling you, and how to prevent and address them.
What Are Signs That Your Grout Is Cracking?
Grout damage isn’t always dramatic at first. Early signs include:
- Fine hairline cracks along grout lines
- Powdery residue or grout crumbling when touched
- Darkened grout caused by moisture intrusion
- Cracks appearing repeatedly in the same areas
Left unaddressed, these issues can allow moisture beneath the tile, leading to larger repairs down the line.
What Are Common Causes of Cracked Grout?
Grout cracking rarely happens without reason. If your grout is a few years old, it’s normal that some cracks may appear over time. Most cracking is the result of movement, moisture, or installation issues:
- Structural Movement: Buildings naturally settle and shift over time, placing stress on rigid grout lines.
- Improper Subfloor Preparation: If the surface beneath the tile isn’t properly prepared or stable during installation, it can flex or move, causing grout to crack prematurely.
- General Wear and Tear from Traffic: Everyday foot traffic gradually wears down grout, causing it to weaken.
- Poor Installation Practices: Overly dry mixes, rushed application, or inconsistent curing reduce durability.
- Moisture and Temperature Changes: Frequent wetting, heat, or temperature swings cause expansion and contraction.
Pro Tip: Keeping grout clean can help you monitor its condition and detect early signs of cracking. For ongoing maintenance, our [TileBar Grout Cleaner] makes it simple to preserve both appearance and durability.

What Are Ways To Prevent Cracked Grout?
While some movement is inevitable, thoughtful planning and proper installation can significantly reduce the risk of cracking.
- Start With the Right Foundation: A rigid, well-prepared subfloor is essential. Proper underlayment and reinforcement help minimize flexing beneath the tile.
- Use the Appropriate Grout: Choosing the correct grout for joint width, tile type, and application matters. In areas prone to movement, flexible or epoxy grouts offer added durability.
- Allow for Expansion: Expansion joints and perimeter movement joints give installations room to shift without stressing grout lines.
- Seal When Recommended: Sealing cement-based grout helps protect against moisture penetration, which can weaken grout over time—though sealing alone won’t prevent structural cracking.
Can Cracked Grout Be Replaced?
Yes—cracked grout should always be repaired rather than layered over. Once grout cracks, it can no longer properly protect the tile installation, and moisture may seep beneath the surface if the issue is left unaddressed.
For localized cracking, replacing the damaged grout is often a straightforward and cost-effective repair. However, simply applying new grout over existing grout is not recommended, as it rarely adheres well and often leads to uneven results or repeat cracking.
If cracks are widespread or continue to reappear, the issue may extend beyond the grout itself. In these cases, the tile assembly, subfloor, or surrounding conditions should be evaluated before repairs are made to ensure long-term performance.
How to Fix Cracked Grout on Tile Floors or Walls
When cracking is limited to specific areas, grout replacement can restore both appearance and function. Here’s a general step-by-step approach:
- Remove the damaged grout using a grout saw or removal tool, taking care not to chip the surrounding tile.
- Clean the joints thoroughly to remove dust and debris, ensuring a clean surface for proper bonding.
- Mix and apply new grout suited to the tile type, joint width, and application area.
- Pack the grout firmly into the joints, smoothing the surface for a consistent finish.
- Allow the grout to cure fully according to manufacturer’smanufacturer guidelines before exposing it to moisture or foot traffic.
Properly replacing cracked grout helps restore stability, protects against moisture intrusion, and prevents further damage—provided any underlying issues have been addressed.
When to Consult a Professional
If grout continues to crack after repairs, or if cracking is accompanied by loose tiles or moisture issues, it’s time to consult a professional installer. Persistent grout failure often points to subfloor movement, moisture intrusion, or installation deficiencies that require expert attention.
Tile grout cracking is rarely just a cosmetic issue—it’s a clue. With proper installation, cleaning, maintenance, and attention to early signs of wear, grout can remain intact and visually seamless for decades.
FAQ: Common Questions About Cracked Grout
Can I just put new grout over old grout?
No. New grout requires a clean, stable surface to bond properly. Applying grout over existing grout is rarely effective and often results in uneven color, weak adhesion, and recurring cracks. For lasting results, old grout should be removed before regrouting.
How do you fix cracked grout?
Cracked grout should be removed and replaced, not patched over. The repair process involves carefully removing damaged grout, addressing any underlying issues, and regrouting with a product appropriate for the tile, joint width, and application.
How do you fix grout that keeps cracking?
Recurring cracks usually indicate a deeper issue, such as subfloor flexing or the absence of proper expansion joints. In these cases, simply regrouting won’t solve the problem. A professional assessment may be required to correct the underlying cause.
Why does tile grout crack?
Tile grout cracks most commonly due to structural movement, inadequate subfloor preparation, incorrect grout selection, improper installation, or exposure to moisture and temperature fluctuations.
How long should grout last before cracking?
When properly installed and maintained, grout can last decades. Cracking within the first few years often points to underlying issues rather than normal wear.
Is cracked grout a defect?
Not necessarily. Cracked grout is rarely a material defect. More often, it’s the result of environmental conditions, movement, or installation practices rather than the grout itself.
Are hairline cracks in grout normal?
Minor hairline cracks can occur over time, particularly in areas exposed to temperature changes or slight structural movement. While not always urgent, they should be monitored—especially in wet areas—since even small cracks can allow moisture to penetrate beneath the tile.
Does sealing grout keep it from cracking?
Sealing grout helps protect against moisture and staining, but it does not prevent cracking caused by movement or structural stress. Sealing is a maintenance measure, not a structural solution.
Should I worry about cracked grout?
Yes, cracked grout can allow moisture beneath the tile, potentially leading to mold, loose tiles, or damage to the substrate. Addressing cracks early helps prevent more extensive repairs later.
Related Articles


Explore Our
Tilefinder