Visit
Visit 
Sparkling Grout: How to Clean Grout on Floor Tiles
 Copy Link
 Email
Email
 Twitter
 Pinterest
 Instagram
 Facebook
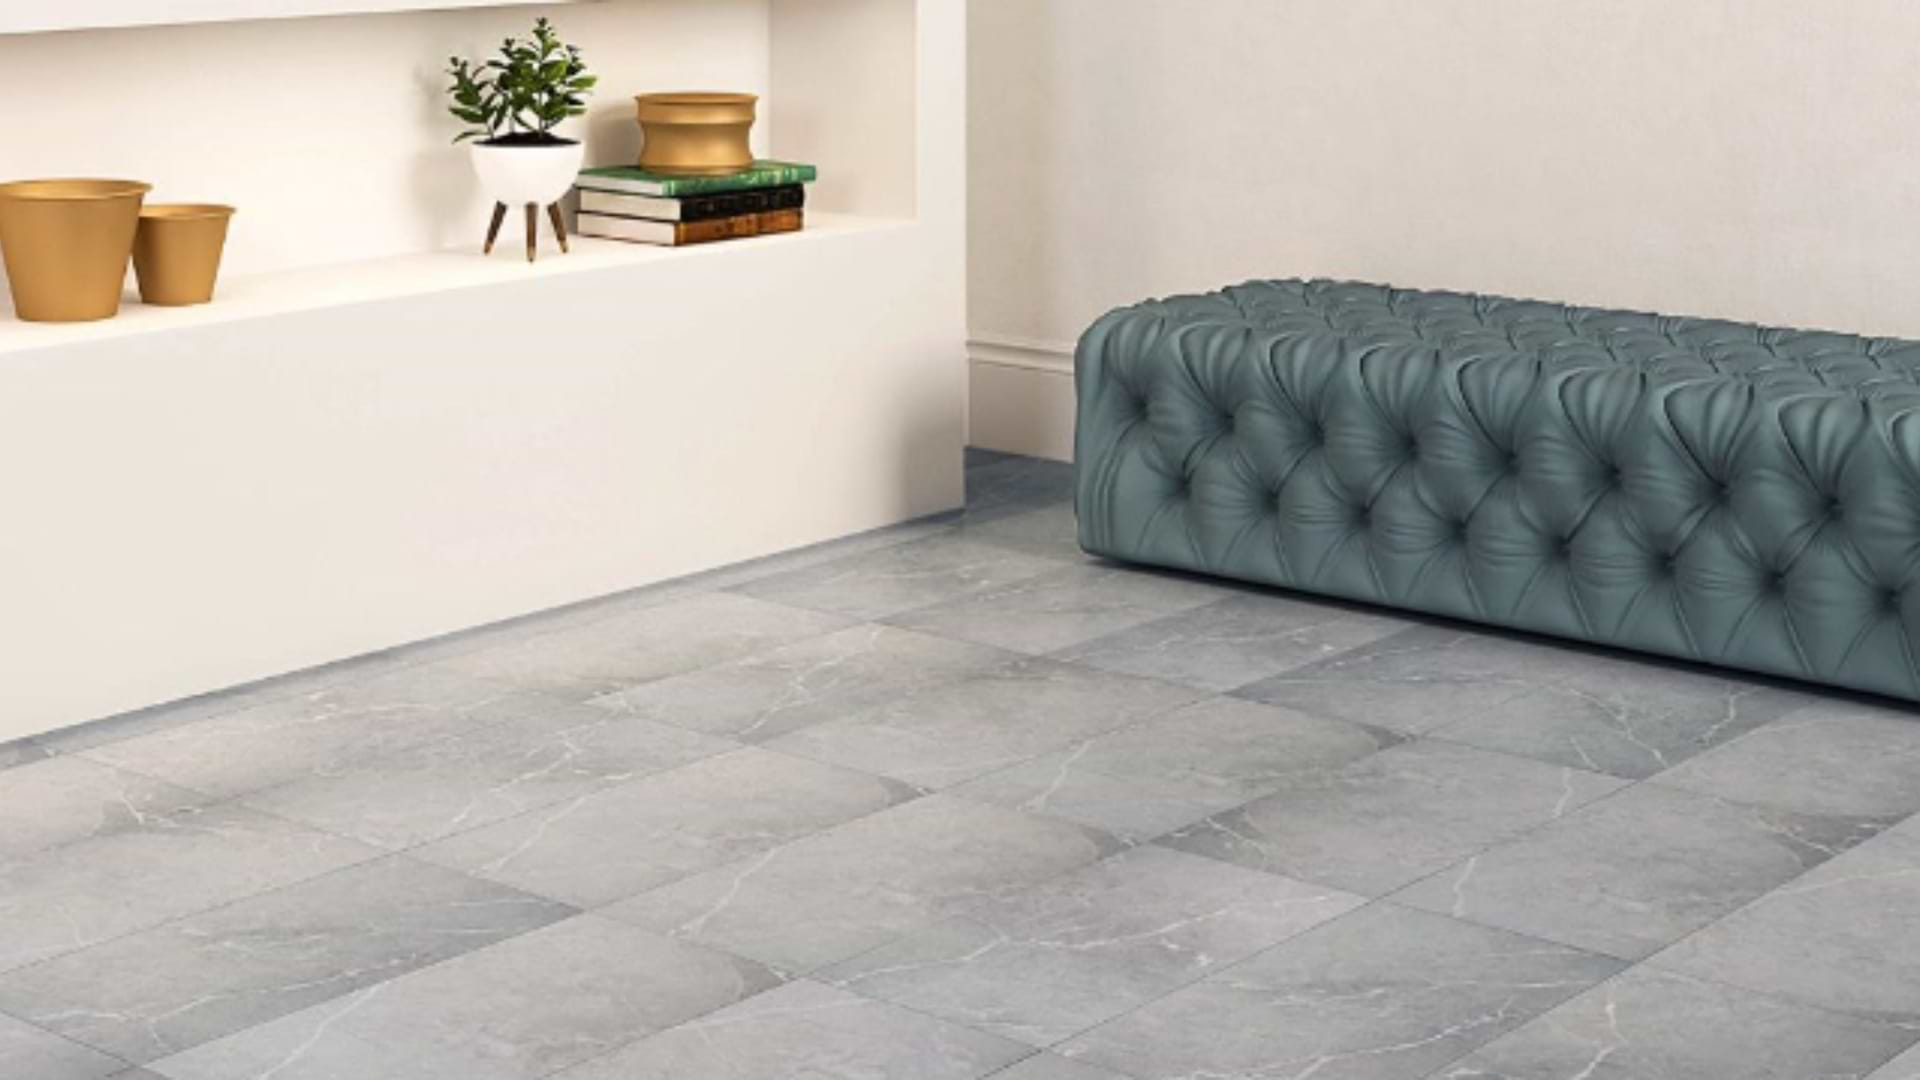
Grout serves a dual purpose, both functional and aesthetic, as it secures and enhances the visual allure of your floor tiles. Upholding its cleanliness, such as learning how to clean grout on floor tiles naturally, is paramount in preserving the surrounding environment’s overall immaculateness and aesthetic splendor. Consistent and methodical maintenance guards against the accrual of dirt and grime, which have the propensity to erode the exquisiteness of the grout lines.
While integral to the structural cohesion of floor tiles, the amalgamation of cement, sand, and water-forming grout is also prone to the gradual accumulation of undesirable elements – namely, dirt, grime, and staining agents. The consequence of this accumulation is not only the attenuation of the floor’s visual vibrancy but also the imposition of a substantial challenge in maintaining an environment of cleanliness and hygiene.
Essential Materials for Grout Cleaning
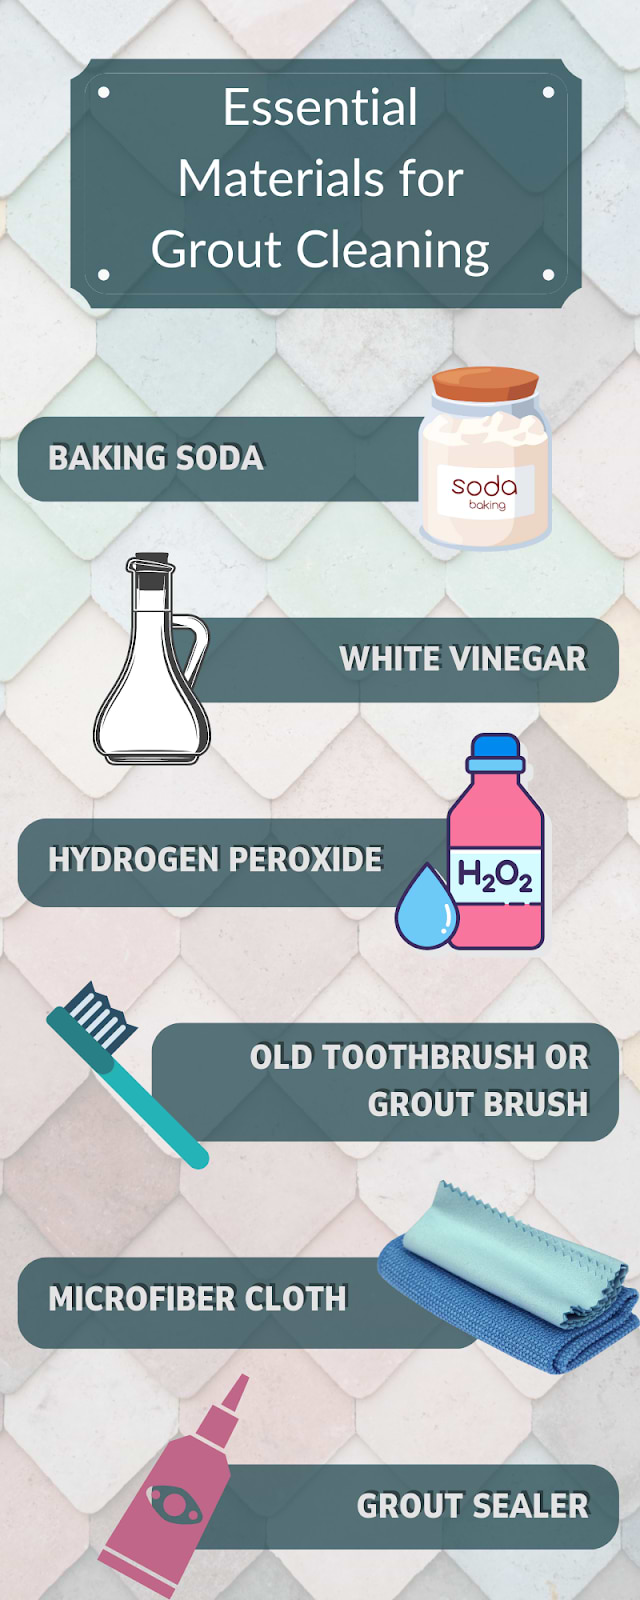
For grout cleaning, you will need the following cleaning materials:
- Baking Soda: A humble yet potent ingredient, baking soda serves as the cornerstone of numerous natural cleaning solutions. Its abrasive nature aids in dislodging stubborn grime from grout lines.
- White Vinegar: The acidic prowess of white vinegar is harnessed to dissolve mineral deposits and stains on floor tile grout. When combined with other agents, it unleashes a foamy reaction that aids in lifting dirt.
- Hydrogen Peroxide: Known for its bleaching and disinfecting properties, hydrogen peroxide serves as a formidable weapon against both stains and germs that might have infiltrated the grout.
- Old Toothbrush or Grout Brush: These unassuming instruments take on heroic roles as scrubbers, their bristles delving deep into the stained grout to dislodge embedded dirt and stains.
- Microfiber Cloth: This delicate yet effective cloth offers the final touch, gently wiping away residues and moisture left behind after cleaning.
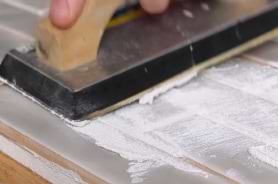
- Grout Sealer: Post-cleaning, a grout sealer becomes a guardian, shielding your clean grout lines from future stains and dirt buildup. Choose a high-quality sealer and follow the application guidelines carefully.
Preparing the Area Before Cleaning Grout
Before delving into the realm of cleaning grout, meticulous preparation is paramount. By ensuring a clean slate, you establish a foundation for a seamless and effective process. Here’s how to prepare the area for your grout-cleaning journey:
- Clear Obstacles: Thoroughly remove any obstacles, objects, or furniture from the designated cleaning area. This facilitates unrestricted access to the grout lines, ensuring a thorough and unhindered cleaning process.
- Sweep or Vacuum: Eliminate loose debris, dust, and particles by sweeping or vacuuming the floor surface. This crucial step prevents loose dirt from becoming abrasive and scratching the tiles during the subsequent cleaning procedures.
How to Clean Grout on Floor Tiles
Using White Vinegar and Baking Soda Paste
Harnessing the power of everyday household items, the vinegar and baking soda paste method delivers impressive results:
- Mix the Paste: In a small bowl, combine equal parts of baking soda and water, creating a uniform paste.
- Apply and Wait: Gracefully apply the paste onto the dirty grout lines, allowing it to rest for approximately 15 minutes. During this period, the paste diligently penetrates and loosens embedded dirt.
- Foaming Reaction: Introduce white vinegar onto the paste, initiating a chemical reaction that triggers a foaming action. This foaming helps dislodge and lift impurities.
- Scrubbing Action: Armed with an old toothbrush or a dedicated grout brush, embark on a scrubbing mission. With gentle yet determined strokes, eliminate dirt and stains from the tile grout lines.
- Rinse and Dry: Rinse the treated area with water to eliminate all traces of the cleaning agents. Finish by thoroughly drying the vicinity with a microfiber cloth, unveiling refreshed grout lines.
Using Hydrogen Peroxide Solution
For a powerful and bleach-free cleaning solution, embrace the hydrogen peroxide approach:
- Solution Preparation: Mix equal parts of hydrogen peroxide and water in a spray bottle, forming a potent cleaning solution.
- Application and Waiting: Employ the spray bottle to evenly disperse the hydrogen peroxide solution onto the grout lines. Allow the solution to sit for a span of 10 to 15 minutes.
- Scrubbing Endeavor: Wield a toothbrush or grout brush to embark on a meticulous scrubbing process. The solution’s bleaching properties effectively lift stains and grime from the grout.
- Rinse and Dry: Thoroughly rinse the treated area to expunge all remnants of the solution. Conclude this phase by delicately drying the surface with a microfiber cloth, revealing renewed brilliance.
Using Commercial Grout Stain Remover
- Manufacturer’s guidance: Adhere meticulously to the manufacturer’s instructions for the chosen grout cleaner.
- Application and waiting: Apply the commercial cleaner to the grout lines as directed and allow it to sit for the prescribed time.
- Vigilant scrubbing: Utilize a toothbrush or grout brush to scrub as per the instructions, unlocking the cleaner’s potency.
- Rigorous rinsing and drying: Rinse the treated area according to the instructions, ensuring no residue remains. Thoroughly dry the vicinity.
Scrubbing Techniques
The Balancing Act: Gentle Yet Firm Pressure
In the realm of grout cleaning, the balance between gentleness and assertiveness is key. Scrubbing with too much force can damage the grout while being too gentle might yield unsatisfactory results. Striking the right balance is essential to effectively dislodge dirt while safeguarding the grout’s structural integrity.
The Right Tools: Toothbrush or Grout Brush
Selecting the appropriate scrubbing tool is a crucial step in the process. Both toothbrushes and groutbrushes can be your allies in this endeavor. The choice depends on the scale of the cleaning task and personal preference. Here’s a breakdown of each:
- Toothbrush: An old toothbrush with bristles that are still intact can be a formidable scrubbing instrument. Its compact size allows for precise control, making it ideal for smaller grout lines or intricate patterns.
- Grout Brush: Specifically designed for grout cleaning, a grout brush comes with stiff bristles that excel at penetrating the porous grout. Its larger size makes it a suitable choice for larger grout surfaces.
Stiff Bristles: The Power of Agitation
The effectiveness of scrubbing lies in the bristles’ ability to agitate and dislodge stubborn dirt particles. Opt for brushes with stiff bristles, as they provide the necessary abrasion to loosen and lift dirt from the porous grout. The stiff bristles reach deep into the grout lines, ensuring a thorough cleanse.
Scrubbing Motion
A methodical approach to scrubbing ensures comprehensive coverage and optimal results:
- Circular Motion: Employ a circular motion while scrubbing. This motion ensures that the bristles cover all angles of the grout lines, leaving no space for dirt to hide.
- Focused Strokes: Concentrate on one section of grout at a time. Scrubbing in sections allows you to exert consistent pressure and achieve uniform cleanliness.
- Persistent Patience: Be patient and persistent in your scrubbing efforts. Stubborn stains might require a bit more time and attention. The consistent application of gentle yet firm pressure gradually yields exceptional results.
Maintaining a Clean Grout
Maintaining the brilliance of your grout is an ongoing commitment that requires a strategic approach. Here, we present a comprehensive set of maintenance tips aimed at preserving the immaculate condition of your grout lines for the long haul.
Regular Sweeping and Vacuuming
Consistent and proactive maintenance begins with the routine act of sweeping or vacuuming your tiled floor. This seemingly simple step yields remarkable benefits, as it thwarts the accumulation of dirt, dust, and debris that gradually dim the luster of your grout. By routinely clearing away these particles, you ensure that your grout remains unblemished and its radiance endures.
Swift Spill Response
In the realm of grout maintenance, promptness is paramount when dealing with spills. Accidental spills of liquids, foods, or substances can swiftly permeate the porous nature of grout and leave behind indelible marks. To counteract this potential staining, adopt the habit of immediately wiping up spills as soon as they occur. This proactive measure acts as a safeguard, preventing the intrusion of substances that could compromise the pristine appearance of your grout lines.
Prudent Cleaner Selection
A cardinal principle in grout maintenance involves the judicious choice of cleaning agents. The prudent path is to avoid the use of abrasive cleaners that possess the potential to compromise the structural integrity of your grout. These harsh substances can erode and weaken the grout over time, leading to deterioration and diminished aesthetic appeal. Instead, opt for gentle and non-abrasive cleaning solutions that effectively cleanse without causing harm.
The Sustained Elegance of Grout
By adopting these meticulous maintenance strategies, you embark on a journey to ensure the enduring splendor of your grout lines. Consistent sweeping and vacuuming act as stalwart sentinels against dirt accumulation, preserving the pristine appearance. Timely spill cleanup acts as a protective barrier against unsightly stains, maintaining the grout’s unblemished allure. And the discerning selection of cleaning agents shields your grout’s structural integrity, perpetuating its beauty for years to come.
Frequently Asked Questions
How often should I clean my grout?
The frequency at which grout cleaning is necessary is contingent upon various considerations such as the level of foot traffic the area experiences and the geographical positioning of the tiles. As a rule of thumb, engaging in a thorough grout cleaning regimen every 2-3 months is deemed suitable to uphold optimal cleanliness. In addition, the implementation of routine maintenance procedures on a weekly basis is advised to sustain the pristine condition of the grout lines.
Can I use bleach to clean the grout?
The potential efficacy of employing bleach as a grout cleaning agent is acknowledged; however, prudence is requisite due to its potential long-term impact on grout integrity and the notable emission of potent fumes. In lieu of bleach, the adoption of more moderate alternatives such as vinegar and baking soda is recommended, as these options deliver comparably satisfactory results while mitigating the associated concerns.
What’s the importance of sealing grout?
The act of grout sealing bears notable significance by establishing a safeguarding shield against the infiltration of stains, moisture, and debris. This protective measure serves not only to uphold the visual appeal of the grout but also to protract its functional lifespan, thereby contributing to the sustained quality of the overall tiled surface.
Final Flourishes
Grout, often overshadowed by the allure of tiles, plays an indispensable role in the visual harmony and structural integrity of your floors. Through the careful application of the techniques elucidated in this guide, you’re equipped not only to eradicate stubborn stains but also to breathe new life into your living spaces.
The process of grout cleaning, from the meticulous preparation of the area to the utilization of tailored cleaning solutions and sealing measures, underscores the commitment to excellence that transforms a functional surface into an exquisite tapestry. As each brushstroke removes a layer of grime, it also unravels the potential for your floor tiles to sparkle once again, radiating both aesthetics and hygiene. If you’re interested in learning more about our grout cleaning services or would like to schedule a consultation, please feel free to contact us.
Related Articles
 Pinterest


Explore Our
Tilefinder