Visit
Visit 
How To Install Outdoor Porcelain Pavers
 Copy Link
 Email
Email
 Twitter
 Pinterest
 Instagram
 Facebook
Updated 5/11/21
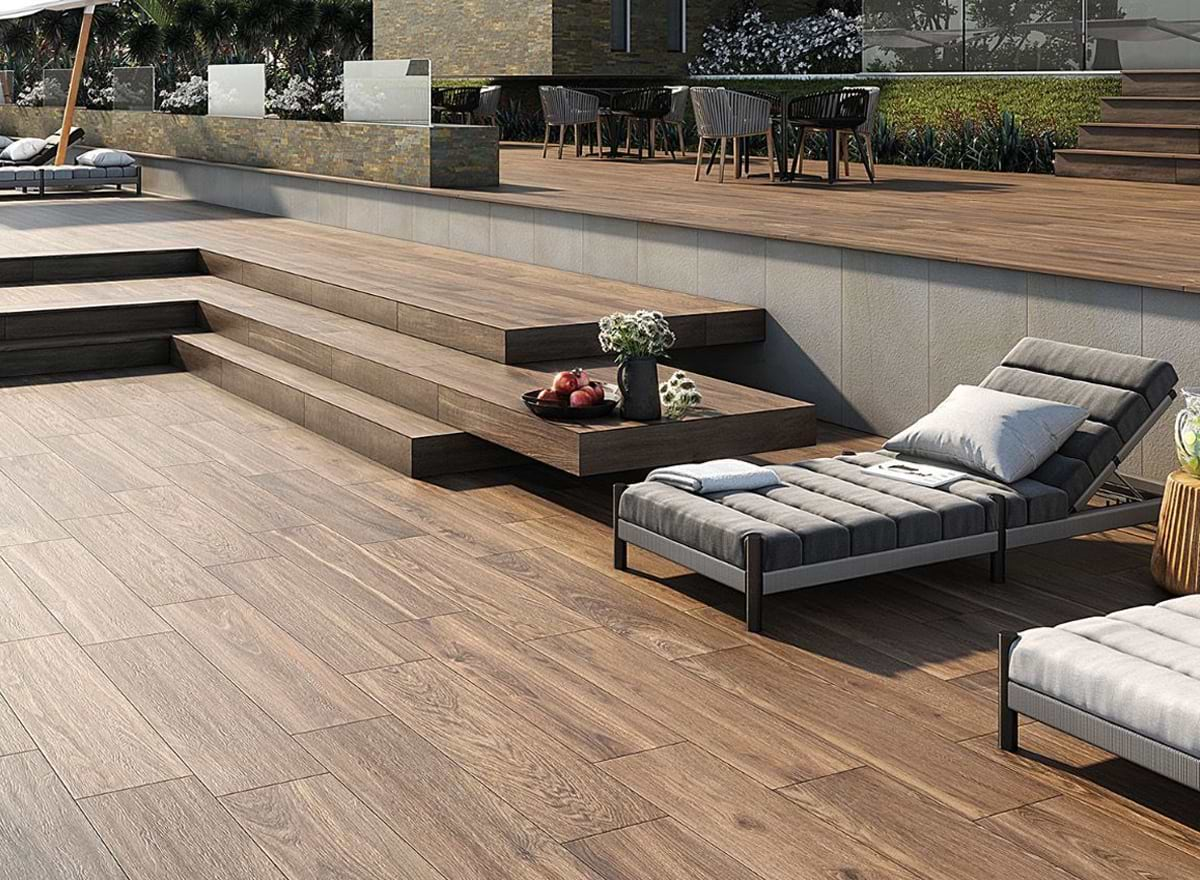
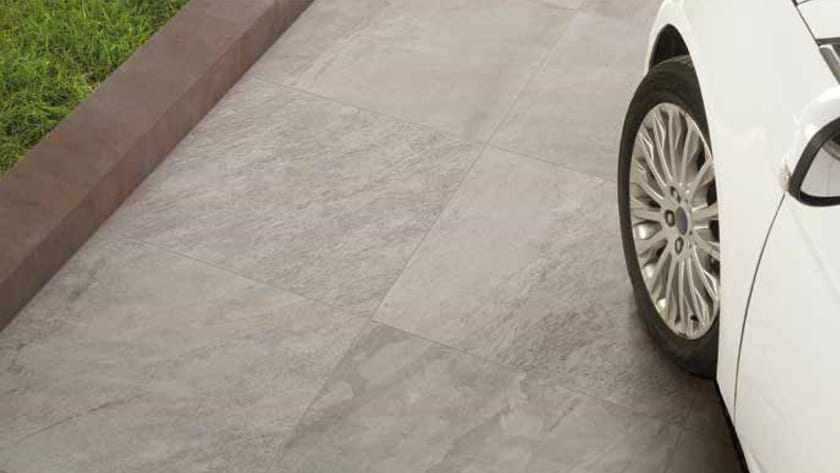
Outdoor porcelain pavers are more popular than ever thanks to their durably rugged construction, weather-resistant properties, and ability to consistently deliver the exact color and texture that you want. But one of the best features is the 2 CM thickness, which is twice that of a typical porcelain tile. This thicker construction allows for you to install porcelain pavers in a multitude of ways including dry installation on grass, gravel, or sand, traditional thick-set mortar installation, and even a raised-pedestal installation. Each of these methods have their benefits, so let’s explore which one is right for your outdoor project. This quick guide will offer advice on installing porcelain pavers, how to lay porcelain pavers, and the best areas for placing outdoor pavers.
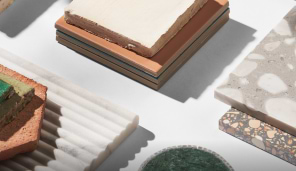
What Are Porcelain Pavers?
Meant for exterior spaces, outdoor porcelain pavers are extremely durable, easy to install and offer multiple looks. Thicker than a traditional porcelain tile, they can be used in backyards, driveways, balconies, decks, and in pool areas. Their rugged durability makes them perfect for both light traffic as well as high traffic areas.
The Do’s And Don’ts For Porcelain Pavers Installation:
- Do cut porcelain pavers only using a wet saw with a blade made specifically for porcelain.
- Do make sure to use spacers so that porcelain pavers always have at least 3/16” distance between one another. They need this for expansion (and yes, even porcelain tiles can expand slightly in the great outdoors) and to allow for proper drainage.
- Do make sure that the area of your substrate, or area on which you are installing your paver, is always greater than the porcelain paver itself. Usually 8”-10” is ideal. This should help stop your paver from shifting thanks to any erosion of your substrate.
- Do ensure that your paver is able to properly drain by placing on a slope. It’s advisable this floor slope is 2 degrees, but this can vary by your location and area of installation. It should also be said that you always want to slope away from areas where you do not want water to collect, or have a plan for drainage.
- Do compact your substrate where you plan to install your pavers thoroughly so that you won’t experience gapping or movement because there is settling.
- Do plan to use an edge restraint, especially in a dry installation. This will help reduce unwanted movement and gapping.
- Don’t forget to level your substrate and compact it before proceeding with the placement of pavers.
- Don’t use a plate compactor after laying the pavers as this could easily damage the tile. All compacting should be done before you lay down your pavers.
- Don’t forget to read install-specific instructions thoroughly to avoid damages.
- Don’t be afraid to call a professional if you aren’t sure how to install or get stuck at any part of the process.
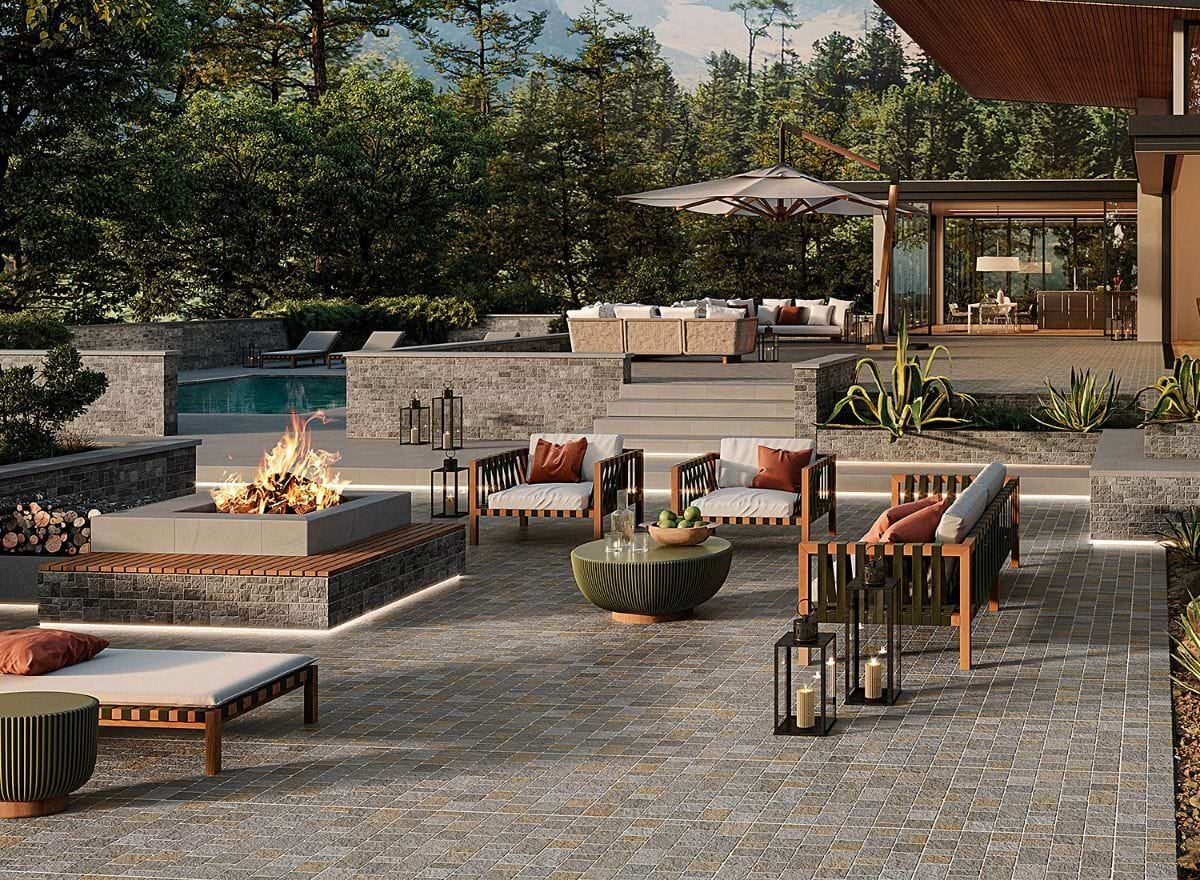
Common Porcelain Pavers Installation Methods
Here are some of the most common installation methods for outdoor porcelain pavers. Please note that these are all rated for pedestrian foot traffic, so please review your paver installation instructions and consult a professional if you need an installation that can withstand heavier traffic like cars.
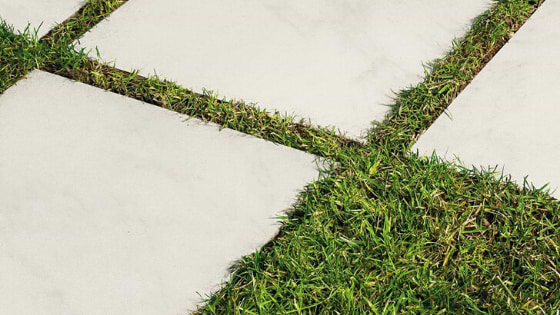
Dry Installation On Grass
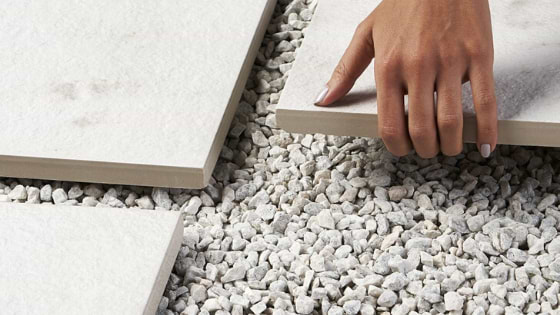
Dry Installation On Gravel
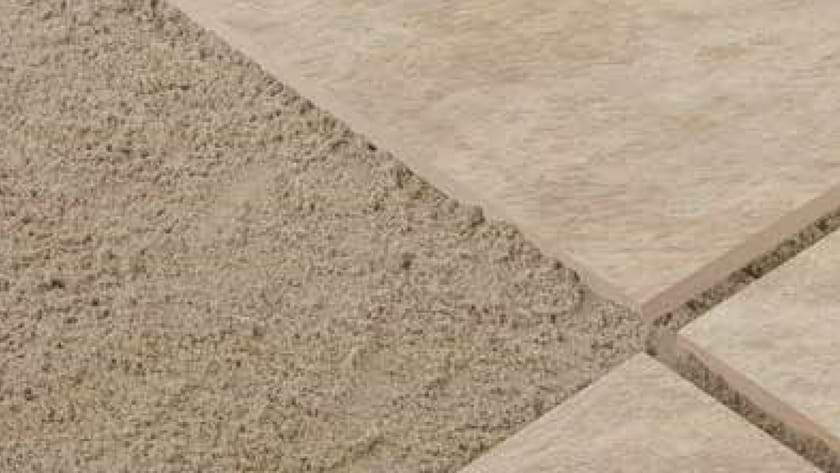
Dry Installation on Sand
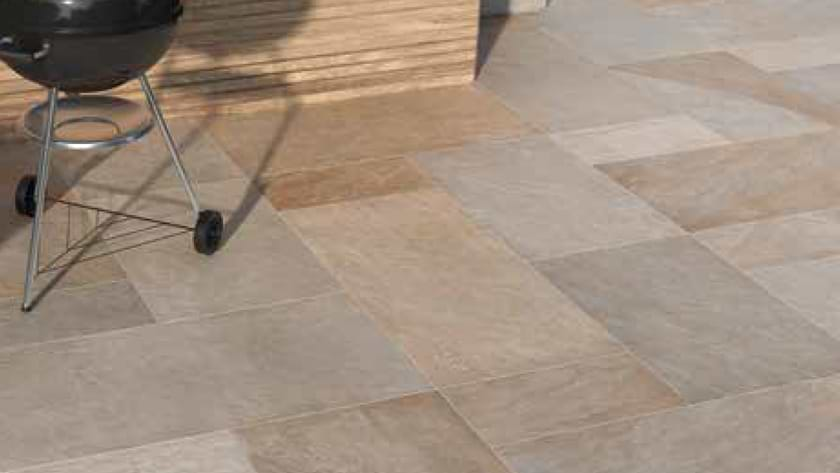
Typical Installation on a Compact Gravel and Sand Bed
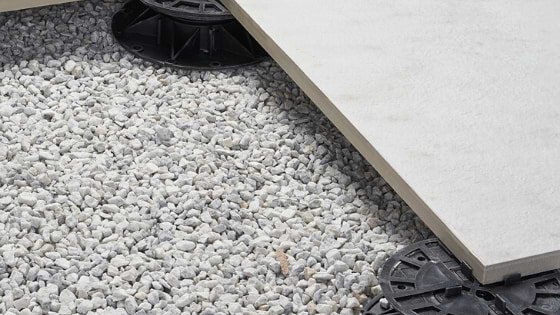
Raised Pedestal Installation
Please note that all raised pedestal paver installations should be on a solid substrate like concrete that is properly sloped away from buildings and others areas to ensure adequate drainage
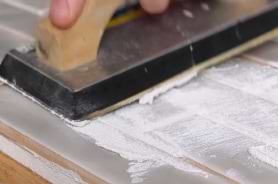
Traditional Mortar Installation on Concrete
This mortar bed installation is closely related to a typical tile installation. There are many options for this, so let’s just review some key factors when considering this installation type so you can know what to discuss with your contractor:
As you can see, there are myriad ways to include porcelain pavers into your design. All it takes is some prep work and you’re bound to have great results in no time!
Related Articles

 Pinterest
Explore Our
Tilefinder